Sentry Page Protection
Bulk Veggies for the Freezer and Pantry

One of my favourite ways to keep our grocery budget low is to buy the produce we can't or don't grow in bulk and preserve it. It means we get to eat the delicious fruits and veggies that we'd miss if I didn't do this, and we don't go over our grocery budget.
Last week my local greengrocer, Big Watermelon (I'll link to the website below) had great deals on celery, cabbage and red capsicum. Off I went and $12 later I had three bunches of celery, three giant heads of cabbage and six very big, bright red capsicums and a huge smile on my face.
Just to clarify, we do grow cabbages, and have some in the garden, but they're not ready yet and they were a fabulous price, and worked out to 57 cents a kilo! That's a great deal, and these cabbages will feed us for quite a while.
I did need to get all this produce prepped and preserved as quickly as I could, so I spent an hour and a half to get it all done.
When I'm working on a mega preserving session I like to plan how to proceed and work in a kind of assembly line way. It's more efficient, saving me time and energy, and that's important - who wants to be so exhausted they can't enjoy getting so much lovely food into the pantry?
My plan was:
• Dehydrate celery
• Slice and bag capsicums
• Make a batch of sauerkraut
• Dehydrate celery
• Slice and bag capsicums
• Make a batch of sauerkraut
The "assembly line" went like this:
1. Cut the bottoms off the celery, and wash the celery and capsicums and dry.
2. Get out the dehydrator and set it up; get the pasta pot out to blanch the celery; get out the crock for the sauerkraut; get the freezer bags ready for the capsicum.
3. Slice the celery. I used my big knife and cut it into smallish slices, including the leaves. I put the leaves in a separate pile.
4. Blanch the celery, one bunch at a time. Two minutes in boiling water, drain and dump straight into icy cold water to cool down, then into a colander to drain. I did this for each bunch of celery.
Last thing to be blanched was the leaves for one minute in boiling water and then straight into icy cold water.
5. When the celery was drained it went onto the dehydrator trays.
I like to try and get a single layer on each tray. It means everything dehydrates evenly and quickly. I know there are some folk who pile the produce up on the trays, but that means you need to keep going back and stirring things around so everything will properly dehydrate. Seems like a lot more work to me.
Once the six trays were full, I set the dehydrator to 50 degrees Celsius and the time for 12 hours and turned it on.
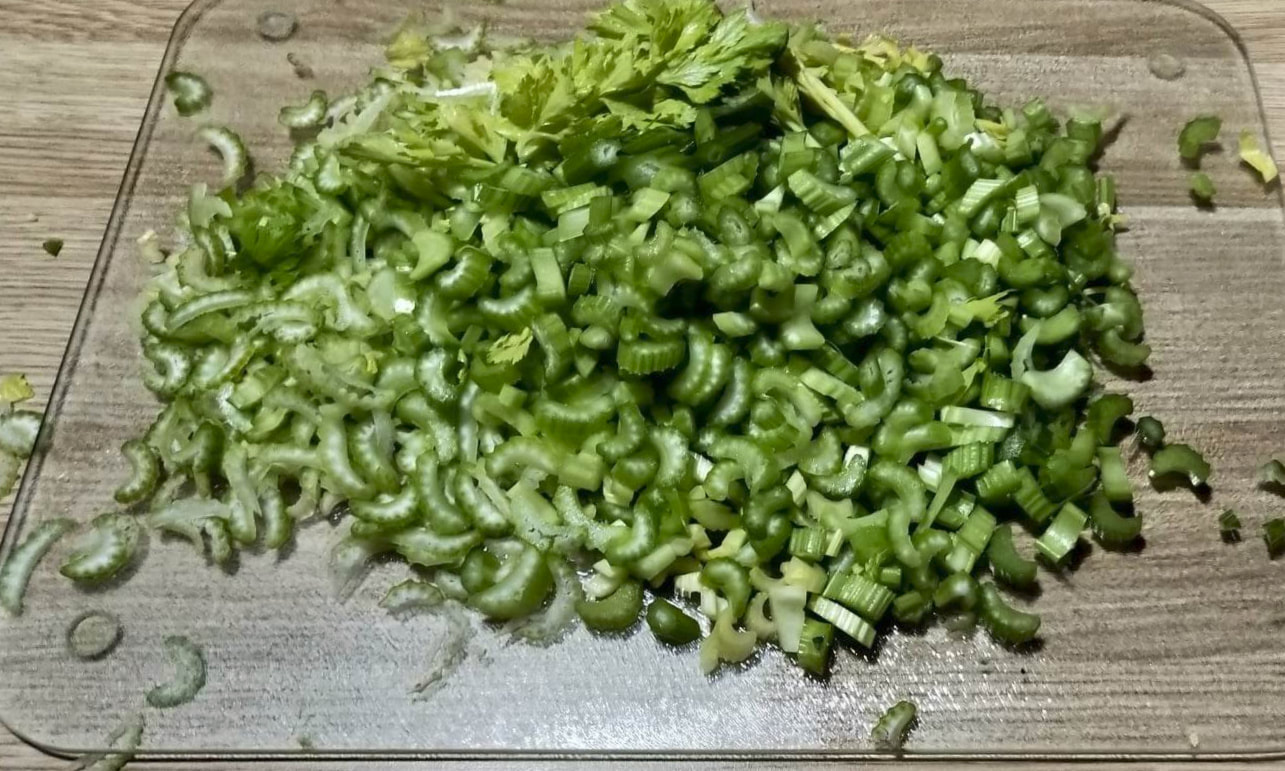
Chopped celery ready for the dehydrator
6. Next thing to process was the capsicums. These were simply topped, sliced and deseeded. As we are going to use these up over the next few weeks, I didn't vacuum seal them.
Normally for freezer storage, especially long-term, I'd vacuum seal in meal or recipe size portions. Because I know we will be using them very quickly, I simply bagged them in freezer bags, squeezing as much air as possible out of the bags, and then put them all in a big ziplock bag and into the freezer.
Normally for freezer storage, especially long-term, I'd vacuum seal in meal or recipe size portions. Because I know we will be using them very quickly, I simply bagged them in freezer bags, squeezing as much air as possible out of the bags, and then put them all in a big ziplock bag and into the freezer.
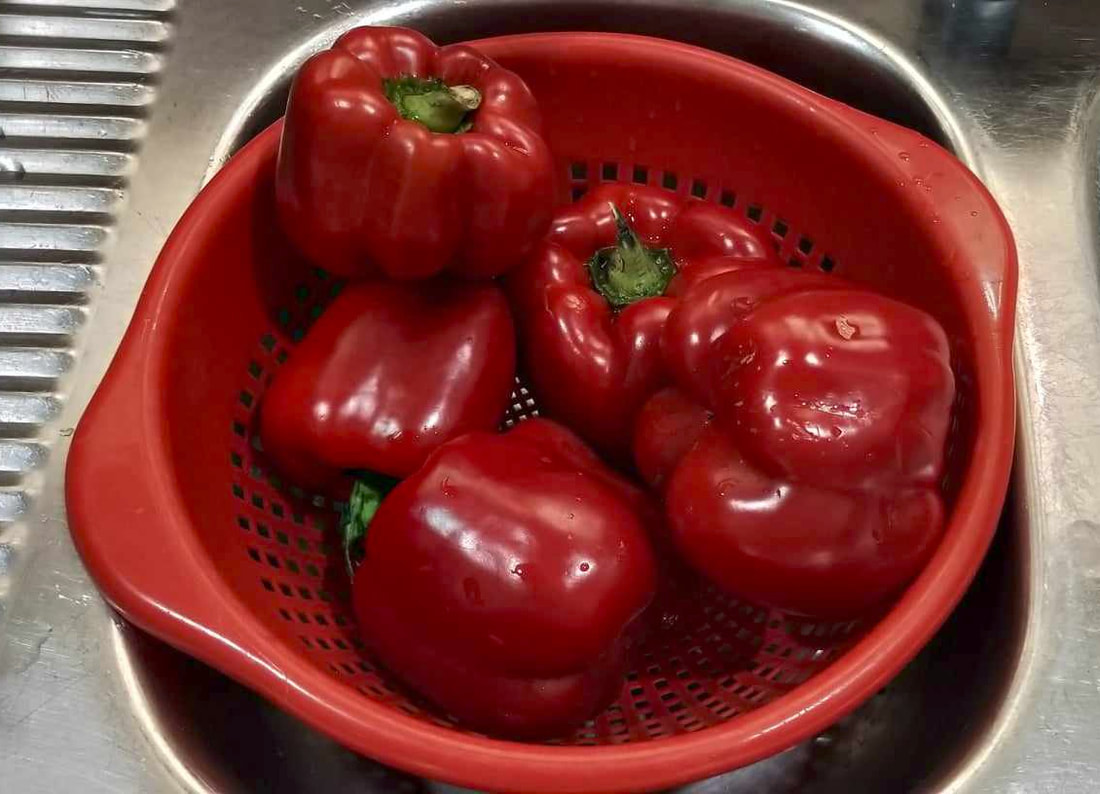
Washed red capsicum
7. Last thing to be done was shredding the cabbage for the sauerkraut.
I used my V Slicer for this, so the shreds would be an even thickness. To make the cabbage easier to handle I cut it into quarters and removed the core.
When all the cabbage was shredded I sprinkled it with salt and then tenderly and gently gave it a massage for 10 minutes. This releases the water from the cabbage and starts to create the brine that the cabbage needs to ferment.
When the cabbage was completely relaxed (and yes, that's what it's called) it was packed tightly into the crock, packed down between layers with the handy-dandy pestle.
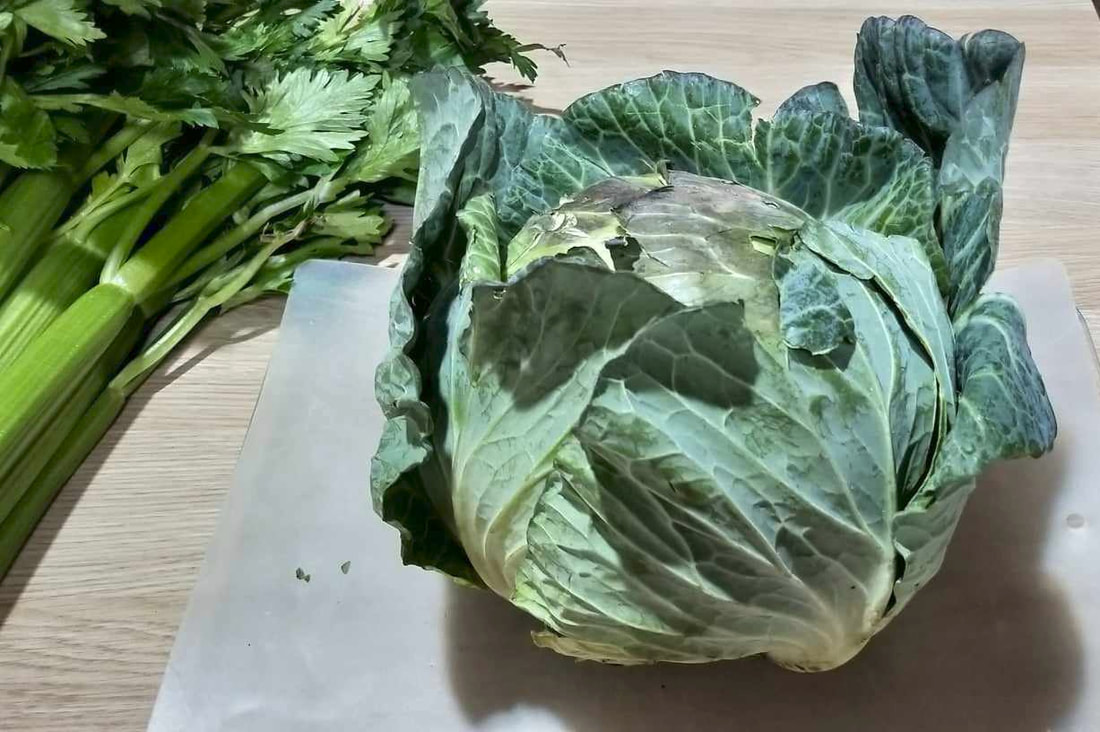
Cabbage for sauerkraut
The aim is to have enough of the brine to cover the cabbage. This batch there wasn't enough, so I had to make a brine and top it off.
It's important that the brine cover the cabbage completely, otherwise it will mould and spoil. Keeping it submerged is easy: I used the ceramic weights that came with the crock, but if you don't have them you can use one of the big outside leaves from the cabbage and a couple of heavy rock. Just make sure you wash the rocks well and keep them on top of the leaves.
I didn’t add any spices to the cabbage. This is simply a plain batch. Next batch I'll try some different spices to add a little extra zing.
The kraut has to ferment for 3 - 7 days, then into the fridge it will go where it will keep for up to six months. We'll easily use it well before six months are up!