THE CHEAPSKATES CLUB
  • Home
  • Member Hub
    • Getting Started
    • 31 Days of MOO Hub >
      • MOO Month 2026 Learn to Make Your Own and Save
      • How to Learn to MOO
      • 2026 Daily MOOs
      • 31 Days of MOO Forum
      • 31 Days of MOO Index
    • SUPER SHOPPER 2026 >
      • Super Shopper 300 a Month Challenge
    • No Spending Month
    • Handmade Christmas Hub >
      • Make It Monday
    • Articles
    • How to Build Your Stockpile >
      • How to Build Your Stockpile Part 1
      • How to Build Your Stockpile Part 2
      • How to Build Your Stockpile Part 3
      • How to Build Your Stockpile Part 4
    • Take A Pause
    • Budget Renovations
    • Saving Stories
  • Recipes
    • Recipe File Index
    • Meal Plans
    • Back to Basics >
      • Back to Basics
      • Simple Bulk Pasta Sauce
      • Back to Basics Ep 1
    • Add a Recipe
  • Saving Money
    • Member Wins Money Smiles
    • LATEST TIPS 2026
    • Cheapskates Tip Store
    • Tip Sheets
    • Bill Paying System
  • Forum
    • Current Forum Discussions
    • How to Use the Member Forum
  • Newsletters
  • Join the Club
    • Why Members Come Back
    • Twenty Reasons to Join the Cheapskates Club
  • Contact
    • Changing Details
    • About Us >
      • Cath's Story
      • Ask Cath
      • Glossary of Cheapskating Terms
    • Help Files >
      • Help File TOTD

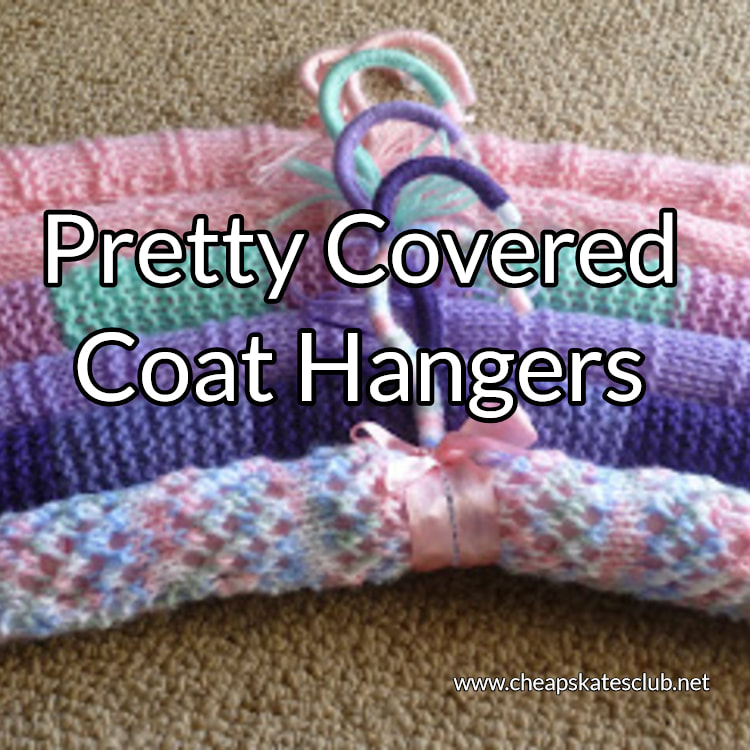
100 Days to A Cheapskates Style Christmas Day 13 Pretty Knitted Coat hanger covers

Picture
You will need:
A small amount of woollen yarn (I used 8 ply scraps)
4mm knitting needles.
Wooden or plastic coat hangers
Wadding
Darning needle

Cast on 20 stitches.
Knit until the fabric measures 30cm (or long enough to cover your coat hanger).
Cast off.
To cover the hanger, pad it with wadding or strips of old (clean please) t-shirting or other fabric. Fold the cover in half to find the centre. Slip the hook through the centre of the cover. Turn so the seam will be underneath the hanger. Using ladder stitch and matching yarn, sew the cover seams together.
To cover the hook cut a length of wool, threaded it onto a darning needle and worked a row of blanket stitch around the hook, pushing it down tightly to make sure the hook was completely covered.​
Day 12
Day 14
Copyright ©2001 - 2026 The Cheapskates Club, All Rights Reserved
  • Home
  • Member Hub
    • Getting Started
    • 31 Days of MOO Hub >
      • MOO Month 2026 Learn to Make Your Own and Save
      • How to Learn to MOO
      • 2026 Daily MOOs
      • 31 Days of MOO Forum
      • 31 Days of MOO Index
    • SUPER SHOPPER 2026 >
      • Super Shopper 300 a Month Challenge
    • No Spending Month
    • Handmade Christmas Hub >
      • Make It Monday
    • Articles
    • How to Build Your Stockpile >
      • How to Build Your Stockpile Part 1
      • How to Build Your Stockpile Part 2
      • How to Build Your Stockpile Part 3
      • How to Build Your Stockpile Part 4
    • Take A Pause
    • Budget Renovations
    • Saving Stories
  • Recipes
    • Recipe File Index
    • Meal Plans
    • Back to Basics >
      • Back to Basics
      • Simple Bulk Pasta Sauce
      • Back to Basics Ep 1
    • Add a Recipe
  • Saving Money
    • Member Wins Money Smiles
    • LATEST TIPS 2026
    • Cheapskates Tip Store
    • Tip Sheets
    • Bill Paying System
  • Forum
    • Current Forum Discussions
    • How to Use the Member Forum
  • Newsletters
  • Join the Club
    • Why Members Come Back
    • Twenty Reasons to Join the Cheapskates Club
  • Contact
    • Changing Details
    • About Us >
      • Cath's Story
      • Ask Cath
      • Glossary of Cheapskating Terms
    • Help Files >
      • Help File TOTD