100 Days to a Cheapskates Style Christmas Day 24: Clothes Peg Peg Board
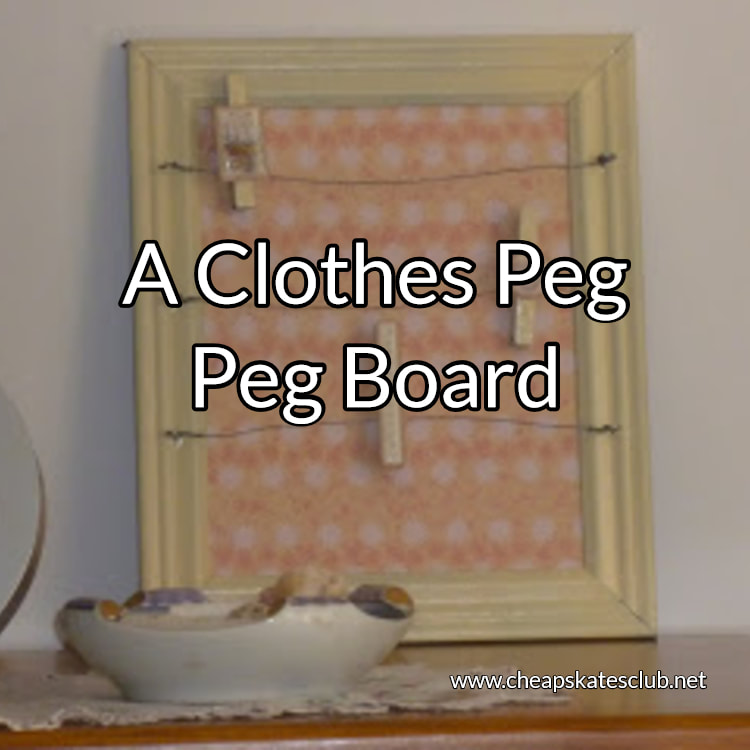
Take a humble wooden clothes peg and use it as inspiration to make a nifty peg board.
This is such a quick gift to make, that it's hard to believe it can be so pretty or so practical. Use paper and embellishments to suit the person you're making it for so it really is a personalised gift.
To make your noticeboard you will need:
A photo frame the size you need
Patterned paper to fit the frame
Craft paint in your desired colour
Picture wire
Screw in wire "eyes" (the type you use for hanging curtain wire)
Wooden clothes pegs
Embellishments
Hot glue gun or sticky glue
To make your noticeboard:
Take the back off your frame. Wipe it over with a clean, damp cloth to make sure it's dust free. Paint the frame using the craft paint. Remember, light, even coats look better and allow you to build up a depth of colour. Paint your pegs to match. Allow to dry thoroughly.
While the frame is drying, measure the patterned paper and cut to fit the backing board from the frame. Glue into place, smoothing to remove any bubbles.
Once the frame is dry replace the covered backing board.
Measure one side of the frame into 3 evenly spaced sections and mark. Measure down the other side to correspond.
Screw the eyes into the frame at the markings. String wire across frame by wrapping securely around one eye. Then pull the wire across to the other side, making sure it is taught. Wind securely around the other eye and trim the end.
To decorate the pegs glue the embellishments onto one side. You can use little wooden or metal embellishments or stickers, whatever you have. If you are an organized personality you can print labels off and stick one to each peg so you can organize your notes i.e. bills, phone messages, To Do etc.
You can either hang the noticeboard on the wall or attach a magnet to each corner and hang it on the front of the fridge or the side of a filing cabinet.
My noticeboard cost the grand total of $1.97, and that was for the frame. It was on the throw out trolley at Sam's Warehouse and I snapped it up. Originally dark brown, it came up beautifully with three light coats of cream craft paint. The pegs were lurking in the bottom of my peg bucket, so no cost there. I rescued the wire from the leftovers of a picture hanging kit stashed in my sewing box. And the pretty patterned paper? Well that is a sheet of scrapbooking paper I'd kept because I love the pattern and colour.
