Sentry Page Protection
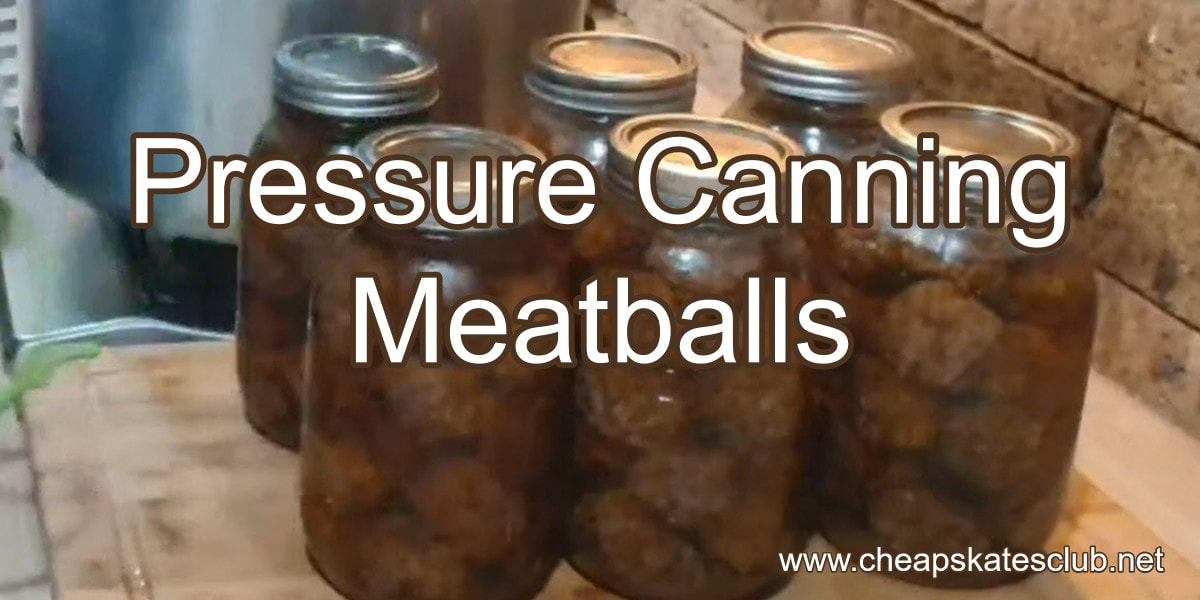
Pressure Canning Meatballs
Having shelf stable food in the pantry makes life so much easier.
No need to worry about power outages and the freezer defrosting. No need to worry about freezer space for your food.
Having a ready-made meal on the shelf, ready to eat, or ready to heat and eat, means you can get a meal on the table in about 10 minutes if you have too.
One of my favourite meals to have on the shelf is meatballs. Plain, old fashioned meatballs. They can be used for spaghetti and meatballs, or Mexican meatballs or meatball subs. They can be served with gravy and vegetables. They can be served over rice with a sweet'n'sour sauce. They can be warmed up and used for dipping or put on skewers as hors d'oeuvres. Add them to minestrone or a pasta bake. Meatballs are versatile and just about everybody loves them.
What they don't like is having to take the time to make them every time they want spaghetti and meatballs or a meatball sub.
That's why having a few jars on the shelf, ready made, is smart.
And here's how I do them.
To make the meatballs:
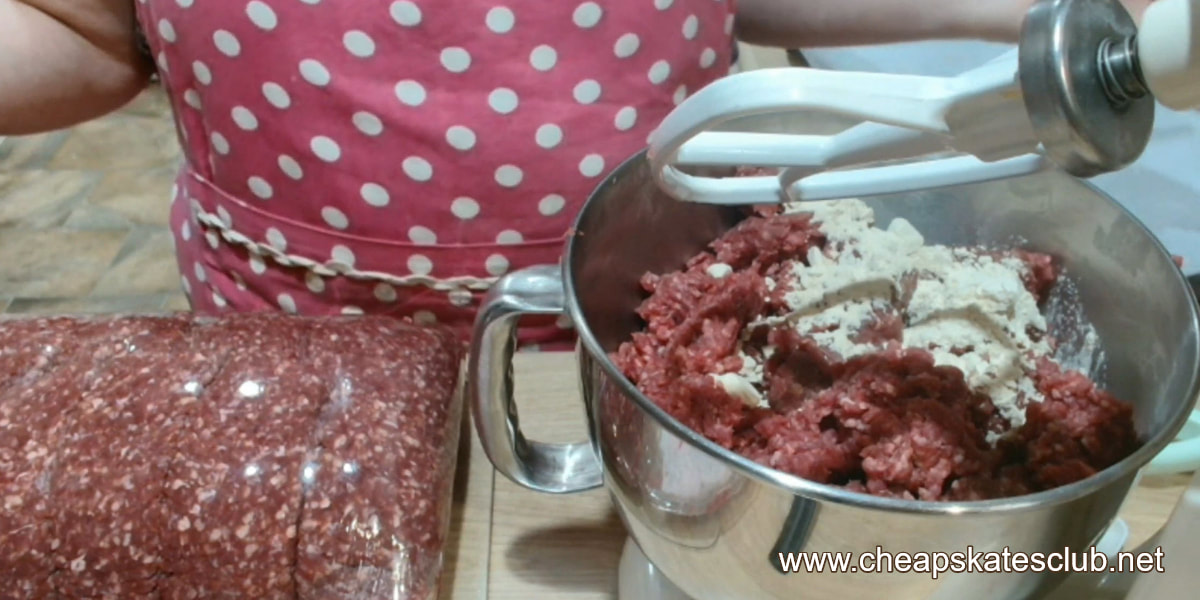
Put the mince in a bowl; I use my Kitchenaid mixer, you can use your hands.
How much mince? That depends on how many jars of meatballs you want to process. For the most part, 1 pint jar holds 10 meatballs, 1 quart jar holds 20 meatballs and 4 kilos of mince will make 130 - 150 meatballs, depending on the size you roll them.
Add your seasonings of choice. I prefer to use onion and garlic powder as the seasonings, so the meatballs are a neutral flavour profile. That way they can be used to make a multitude of different dishes and you can adapt the flavour to suit when you are using them.
Also, too many herbs and spices can become very bitter or very, very strong during the pressure canning process, so leaving them out and adding them as you use the meatballs can save a lot of "yuk" moments.
Onion powder and garlic powder are safe to use in pressure canning; they don't affect the density of the meat during processing.
Turn the mixer onto low (on my Kitchenaid mixer I use the lowest speed) and mix it all well. You want to distribute the seasonings evenly through the meat. I dump it all in the bowl of my mixer and turn it on low, but you can use your hands.
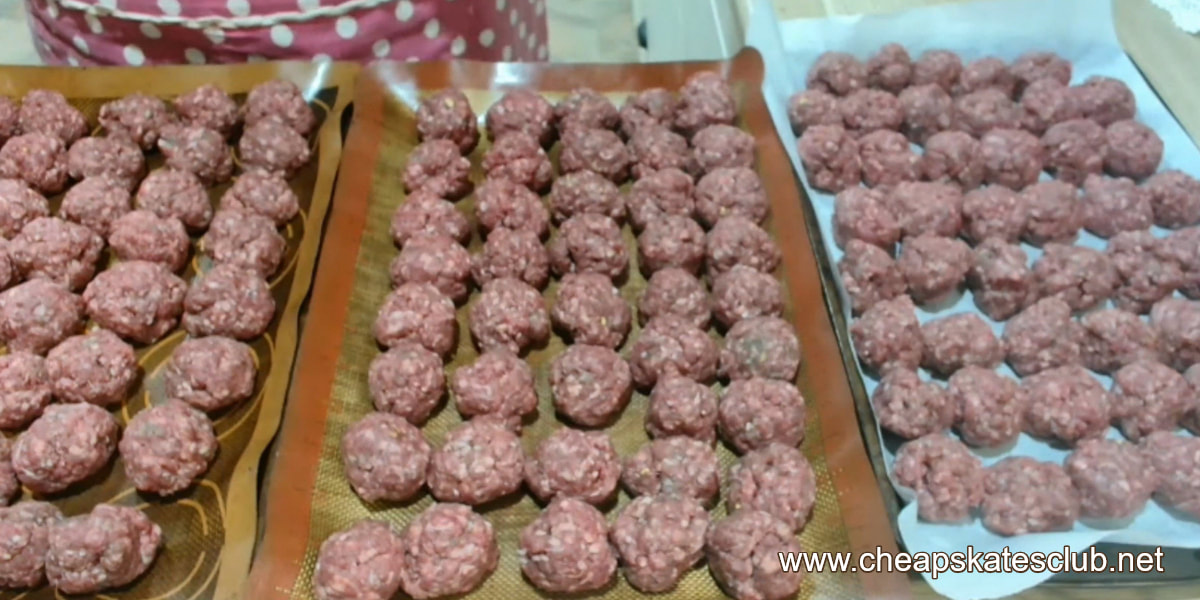
While the meat is mixing, prepare your baking sheets. I line them with silicone baking sheets, you can also use baking paper. This makes cleaning up so much easier. Turn the oven on to heat; 180 degrees Celsius to cook the meatballs without charring them.
To make the meatballs I use a cookie scoop to drop them out, then roll them in my hands.
To make the meatballs I use a cookie scoop to drop them out, then roll them in my hands.
When they are all done, put them in the oven and bake them for 30 minutes. They will be brown and crusty on the outside.
White the meatballs are cooking, prepare the pressure canner and your jars. Remember hot meatballs and hot broth will be in the jars, so the water in the canner needs to be hot.
Drop them into your jars.
Top up with hot stock or broth.
De-bubble. Don't skip this step, just take a chopstick or a plastic skewer or your de-bubbler tool and get those bubbles out.
Wipe the rims carefully with a vinegar soaked paper towel. This is especially important with meatballs as they can be greasy, even after oven baking and draining. Even the tiniest hint of grease on the rim can cause a lid to fail and we don't want that. Put the flat on, then the rings until just finger tight. Do not over-tighten them, steam needs to be able to escape from the jar during processing.
Place the jars in the canner and put the lid on.
Let the canner vent for 10 minutes.
Put the weight on and let it come up to pressure. Pressure will depend on your elevation. For my elevation it has to come up to 11lbs. This takes time, so be patient. If necessary, very carefully and very slowly adjust the temperature (slowly, slowly to avoid siphoning).
Once it reaches pressure, start the timer: 75 minutes for pints, 90 minutes for quarts. Let the canner do it's job, but don't move to far away. Keep and eye on it, even with the weighted jiggler you need to watch the pressure.
When the time is up, turn off the heat. Let the pressure drop normally. When zero pressure is reached, crank the lid of the canner and let it sit for another 10 minutes before taking the jars out. Let them sit overnight to cool and seal.
Next day, check that all the jars sealed.
Remove the rings.
Wash the jars in hot, soapy water and dry them well.
Label and date and put them away.
And you have ready to eat meatballs in the pantry, just waiting to be used.


