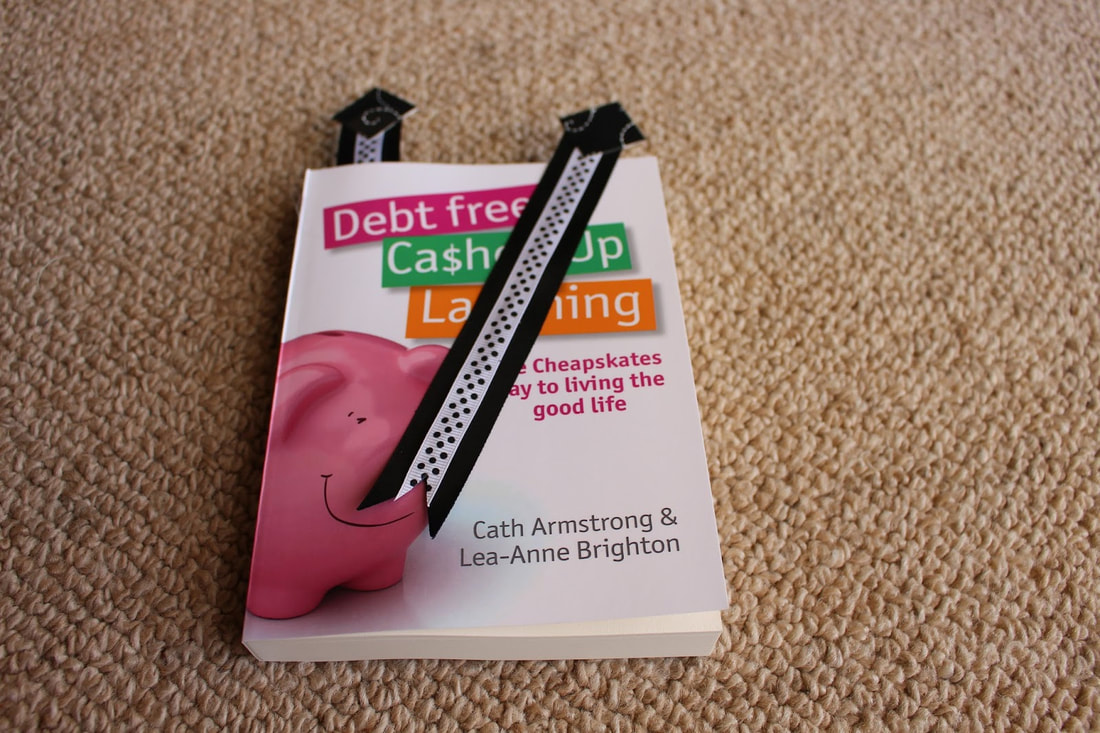
Pretty Ribbon Bookmarks
My niece asked me if I could make some craft items for a stall. Her school (she's in Grade 4) is having a fundraising fair, with the funds raised going to the Red Nose Day appeal. How could I say no, especially when B is so very cute and it's such a good cause?
So, with time being at a premium, I was looking for something quick and easy that I could make with things already in the craft drawers. I had a plentiful supply of ribbon, cardstock and scrapbooking embellishments so bookmarks it was.
These bookmarks are so very pretty, very handy and a wonderful way to use up those little lengths of ribbon every crafter seems to collect.
You will need:
Ribbon of different widths - one narrow, one a little wider
Spray adhesive or a good fabric glue (I use the Lincraft spray adhesive, there are lots of different brands available though)
Card stock
Hole punch
Adhesive flowers (I used scrapbooking embellishments)
Step 1. Place the narrow ribbon on the wider ribbon. Trim the ends to fit. Spray the narrow ribbon with the adhesive and stick it to the wider ribbon. Press it down firmly.
Step 2. Trim the ends of the ribbon with fabric scissors so they are even.
Step 3. Punch or cut two pieces of card stock. You can use a round shape or a flower or even a square. Glue two punched-out pieces of card stock at top of the ribbon, one on each side, to make a tab. Press them together firmly.
Step 4. Attach your adhesive flower or sticker or whatever embellishment to the card stock.
Platinum members can login for full access to the
Crafts & Hobbies Tip Store
Not a Platinum Cheapskates Club Member?
Please upgrade to a Platinum Cheapskates Club membership to be able to access our Member's Centre.
Click here to upgrade your Cheapskates Club membership today
Crafts & Hobbies Tip Store
Not a Platinum Cheapskates Club Member?
Please upgrade to a Platinum Cheapskates Club membership to be able to access our Member's Centre.
Click here to upgrade your Cheapskates Club membership today
