100 Days to a Cheapskates Style Christmas Day 32: Row Readers
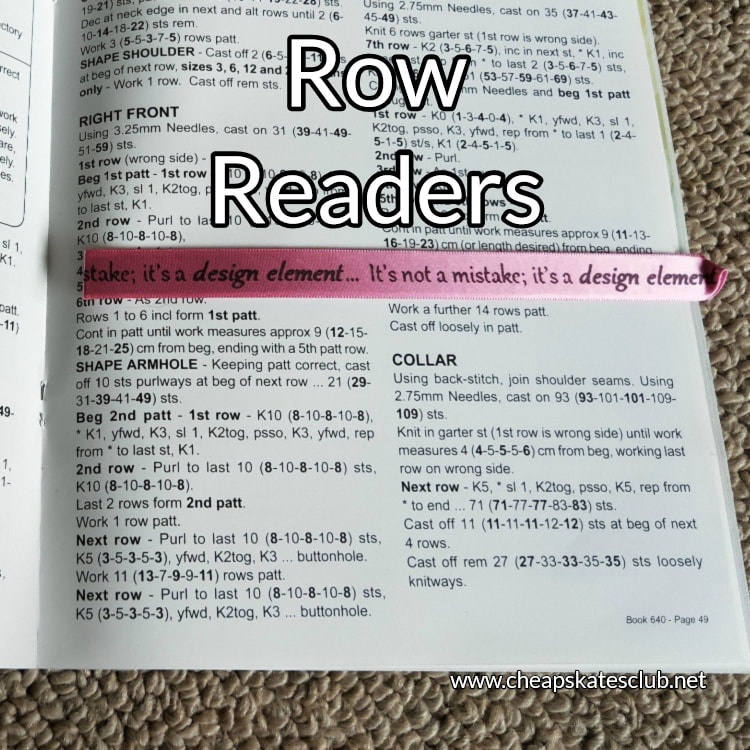
If you have someone on your gift list who knits or crochets, or uses instruction charts and books, then they need a set of these very handy magnetic row readers.
They wrap around the pattern page and simply slide down line-by-line. No more losing their place and no more mistakes in complicated patterns!
You will need:
40cm sticky backed magnetic strip, 12mm wide
44cm ribbon 15mm wide
Fabric glue or a glue gun
Step 1. Cut the magnetic strip in half so you have two pieces 20cm long.
Step 2. Carefully lay one of the magnetic strips on the ribbon, 1cm in from the end. Repeat for the other strip. You will have a gap in the centre of the magnets - this is the "fold" to wrap around the page.
Step 3. Put a dab of glue on each end of the ribbon. Fold the ribbon over, pressing it down so it sticks to the magnet. Repeat for the other end. This will give you a nice tidy end on your line marker. Alternatively, if you don't want to glue the ends, cut a 'V' notch in the ends to stop them fraying.
To use your magnetic line marker place one side of the marker under the line you are reading, folding it over and sticking the other side under the page. The magnets should line up so it sticks to the page. As you finish each line, slide the marker down the page.
You can make these line markers in any length (for wider or narrower pages) and width (wider magnets/ribbons).
They are very handy in your knitting or embroidery bag, but they're also great for children just learning to read "chapter books" as my niece calls them. They're also great bookmarks as they don't damage the pages of your book or magazine.
