100 Days to a Cheapskates Style Christmas Day 53: Christmas Soaps
Make them for yourself, or to give as gifts, or to add to hampers and pamper packs. These soaps are the easiest to make, just melt, add your extras (if you want to) and pour into the moulds. They set quickly, no need to make weeks ahead of time.
You will need:
Melt'n'pour soap base (see my note below)
A double boiler or a larger saucepan and a heatproof bowl that fits in it
A kitchen thermometer
Moulds for your soap
A little isopropyl alcohol in a spray bottle (rubbing alcohol - available at any chemist)
Soap colour (optional)
Fragrance oils or pure essential oils to scent the soaps (optional)
Step 1. Fill your double boiler with water and bring it to the boil. Turn heat down so the water is just simmering.
Step 2. While the water is coming to the boil prepare your moulds. I use silicone cup cake moulds and spray them with a little cooking spray. Put them on a baking sheet so they have a stable base to cool on. You can use empty cartons, cans, muffin pans - anything that can withstand the heat of the melted soap base (it gets very hot).
Step 3. Cut your block of glycerine into chunks, about 2cm in size.
Step 4. Add the soap base to your double boiler. Pop the thermometer in the side and keep an eye on the temperature - you don't want it to go over 50 degrees Celsius. Stir the soap so it melts evenly. If the temperature goes up, take the pot off the heat and continue to stir until all the soap has melted.
Watch the temperature carefully, and keep it under 50 degrees. Heating over 50 degrees can cause the finished soap to sweat.
Step 5. Fill your moulds. I use a soup ladle, you can use a jug or a large spoon - anything that will hold the hot liquid.
Step 6. Spritz the top of each mould with the rubbing alcohol as soon as you fill it.
Step 7. Let the soaps harden. This will take a couple of hours. Turn them out of the moulds.
That's it. Melt'n'pour soap making is so easy even the kids can do it (with a little supervision).

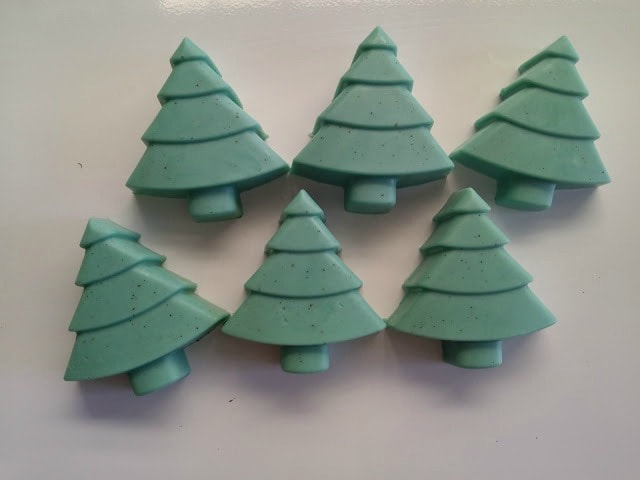
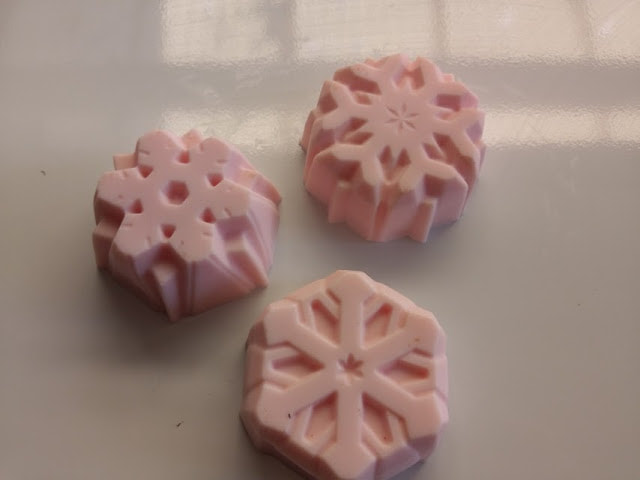
I use silicone cup cake moulds in different shapes. Some are square, some are heart shaped, there are trains and teddy bears. They came from the Reject Shop and cost $2 a packet. I love that they can be used over and over and that it is so easy to get the soaps out of them.
I buy my melt'n'pour soap base from eBay, the prices are competitive and the range is reasonable. You can buy online from soap retailers and some craft shops stock soap making supplies too.
Melt'n'pour glycerine soap bases come in different formulas. You can get clear (add your own colours), shea butter, coconut butter, goats milk and white. They are so easy to use because you don't need to add anything to them, except perhaps a little colour and a fragrance (use pure essential oils and remember "less is more" - you can always add another drop or two if the fragrance isn't strong enough).
The rubbing alcohol isn't strictly essential but it does improve the final finish on your soaps. A quick spritz on each mould as it is filled removes the bubbles from the top, leaving a smooth and shiny surface.