100 Days to a Cheapskates Style Christmas Day 6: Pretty Peg Magnets
Even though I'm not a fan of magnets on the fridge, they seem to be a 21st Century necessity. They hold all manner of notices and messages right where they can be seen, and not easily forgotten!
So, if I must have things stuck to the front of the fridge (or the sides), I like them to be pretty as well as functional.
An easy and inexpensive way to get magnets that suit your decorating style is of course to make them yourself.
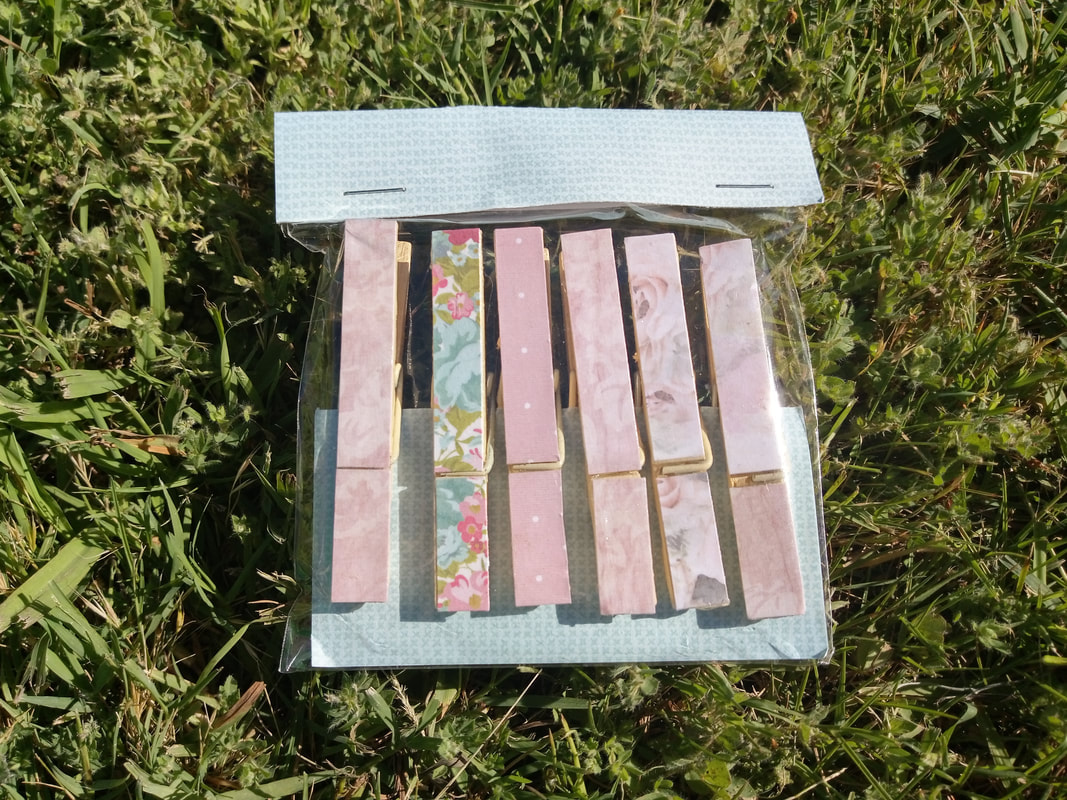
These pretty peg magnets are quick to make, using scraps of paper and recycling those promotional magnets we get in the letterbox from time to time.
You will need:
Wooden spring pegs
Thin magnet strips
Scraps of wrapping paper or scrapbooking paper
Mod Podge (see my notes)
A 1cm wide paint brush
Folk art or craft paint (optional)
Step 1. Paint the pegs, making sure they are completely covered. I hang them on the clothesline to do this.
Step 2. Glue the magnet strip to the back of the peg. A hot glue gun is great for this, but good all purpose glue works too.
Step 3. Measure the width of the peg, then the length of the peg. Cut your paper into strips the width of the peg then cut into strips the length of the peg.
Step 4. Measure the length of the top, and the bottom sections. Cut the strips into these lengths.
Step 5. Cover the peg with the Mod Podge. Stick the strips of paper in place. Let dry a few minutes, then give the papers a coat of Mod Podge. Set aside to dry completely, this doesn't take long.
And you're done.
These make lovely gifts. Over the years I've made thousands of these pretty peg magnets for Mother's Day stalls, to give as gifts and as donations to various fetes and fairs, and they always sell well.
Notes:
Wooden pegs are available in the laundry aisle at your supermarket for around $2 a pack of 48.
Mod Podge - available at craft stores. If you don't have Mod Podge, you can use PVA glue to stick the papers to the pegs. Then to give the top coats, water down the PVA and use three coats per peg to seal the paper.
Magnets are expensive to buy. You can use the magnet from inside the door seal of fridges and freezers. If you see a fridge or freezer out for hard rubbish, stop and remove the magnet.
These magnets are for indoor use only.
So, if I must have things stuck to the front of the fridge (or the sides), I like them to be pretty as well as functional.
An easy and inexpensive way to get magnets that suit your decorating style is of course to make them yourself.
These pretty peg magnets are quick to make, using scraps of paper and recycling those promotional magnets we get in the letterbox from time to time.
You will need:
Wooden spring pegs
Thin magnet strips
Scraps of wrapping paper or scrapbooking paper
Mod Podge (see my notes)
A 1cm wide paint brush
Folk art or craft paint (optional)
Step 1. Paint the pegs, making sure they are completely covered. I hang them on the clothesline to do this.
Step 2. Glue the magnet strip to the back of the peg. A hot glue gun is great for this, but good all purpose glue works too.
Step 3. Measure the width of the peg, then the length of the peg. Cut your paper into strips the width of the peg then cut into strips the length of the peg.
Step 4. Measure the length of the top, and the bottom sections. Cut the strips into these lengths.
Step 5. Cover the peg with the Mod Podge. Stick the strips of paper in place. Let dry a few minutes, then give the papers a coat of Mod Podge. Set aside to dry completely, this doesn't take long.
And you're done.
These make lovely gifts. Over the years I've made thousands of these pretty peg magnets for Mother's Day stalls, to give as gifts and as donations to various fetes and fairs, and they always sell well.
Notes:
Wooden pegs are available in the laundry aisle at your supermarket for around $2 a pack of 48.
Mod Podge - available at craft stores. If you don't have Mod Podge, you can use PVA glue to stick the papers to the pegs. Then to give the top coats, water down the PVA and use three coats per peg to seal the paper.
Magnets are expensive to buy. You can use the magnet from inside the door seal of fridges and freezers. If you see a fridge or freezer out for hard rubbish, stop and remove the magnet.
These magnets are for indoor use only.