THE CHEAPSKATES CLUB
  • Home
  • Member Hub
    • Getting Started
    • 31 Days of MOO Hub >
      • MOO Month 2026 Learn to Make Your Own and Save
      • How to Learn to MOO
      • 2026 Daily MOOs
      • 31 Days of MOO Forum
      • 31 Days of MOO Index
    • SUPER SHOPPER 2026 >
      • Super Shopper 300 a Month Challenge
    • No Spending Month
    • Handmade Christmas Hub >
      • Make It Monday
    • Articles
    • How to Build Your Stockpile >
      • How to Build Your Stockpile Part 1
      • How to Build Your Stockpile Part 2
      • How to Build Your Stockpile Part 3
      • How to Build Your Stockpile Part 4
    • Take A Pause
    • Budget Renovations
    • Saving Stories
  • Recipes
    • Recipe File Index
    • Meal Plans
    • Back to Basics >
      • Back to Basics
      • Simple Bulk Pasta Sauce
      • Back to Basics Ep 1
    • Add a Recipe
  • Saving Money
    • Member Wins Money Smiles
    • LATEST TIPS 2026
    • Cheapskates Tip Store
    • Tip Sheets
    • Bill Paying System
  • Forum
    • Current Forum Discussions
    • How to Use the Member Forum
  • Newsletters
  • Join the Club
    • Why Members Come Back
    • Twenty Reasons to Join the Cheapskates Club
  • Contact
    • Changing Details
    • About Us >
      • Cath's Story
      • Ask Cath
      • Glossary of Cheapskating Terms
    • Help Files >
      • Help File TOTD

100 Days to a Cheapskates Style Christmas Day 7: Pretty Jar Openers

Picture
Picture
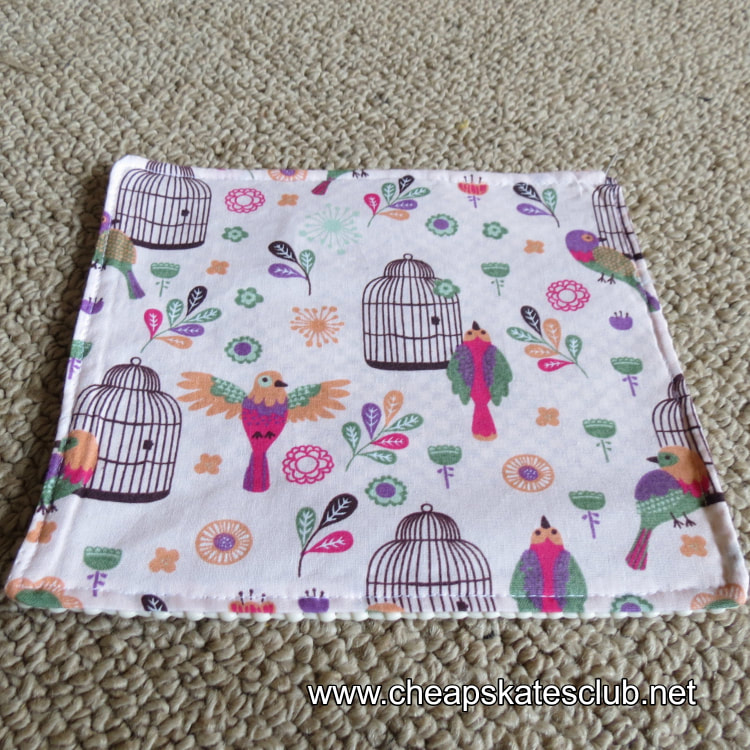
​If you like to give practical gifts, these pretty jar openers are just the thing. They're practical (who doesn't need a jar opener occasionally?), pretty, easy to make and inexpensive.

If you have a fabric stash, these pretty jar openers will use up those scraps you've been hoarding saving too.

The instructions are for a 18cm square jar opener, but you can make them any size you like.

You will need:
18cm square of cotton fabric
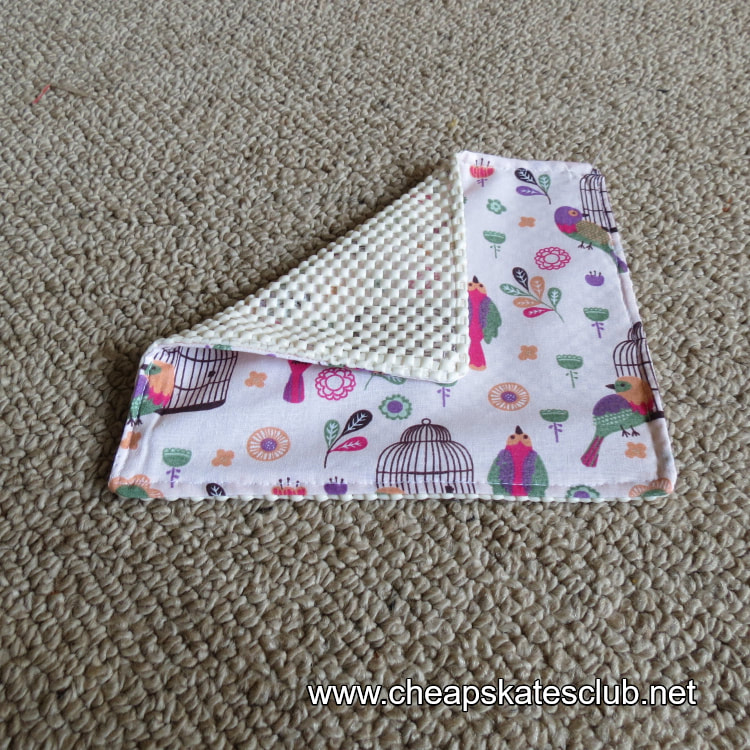
18cm square of rubber shelf lining

Step 1. Put cotton fabric on top of rubber shelf lining, right side down. Stitch a 6mm seam around all four sides, leaving 5cm opening for turning.

Step 2. Turn the fabric right side out. Using your fingers, press the opening closed. Top stitch a 3mm seam around all four sides, catching the opening to stitch it closed.

And you're done! 

Tips: 
Use a narrow strip of paper over the rubber shelf lining to stitch so your machine foot doesn't stick.

Alternatively, hand stitch the seams with a small backstitch, then use a backstitch to top stitch. 
Day 6
Day 8
Copyright ©2001 - 2026 The Cheapskates Club, All Rights Reserved
  • Home
  • Member Hub
    • Getting Started
    • 31 Days of MOO Hub >
      • MOO Month 2026 Learn to Make Your Own and Save
      • How to Learn to MOO
      • 2026 Daily MOOs
      • 31 Days of MOO Forum
      • 31 Days of MOO Index
    • SUPER SHOPPER 2026 >
      • Super Shopper 300 a Month Challenge
    • No Spending Month
    • Handmade Christmas Hub >
      • Make It Monday
    • Articles
    • How to Build Your Stockpile >
      • How to Build Your Stockpile Part 1
      • How to Build Your Stockpile Part 2
      • How to Build Your Stockpile Part 3
      • How to Build Your Stockpile Part 4
    • Take A Pause
    • Budget Renovations
    • Saving Stories
  • Recipes
    • Recipe File Index
    • Meal Plans
    • Back to Basics >
      • Back to Basics
      • Simple Bulk Pasta Sauce
      • Back to Basics Ep 1
    • Add a Recipe
  • Saving Money
    • Member Wins Money Smiles
    • LATEST TIPS 2026
    • Cheapskates Tip Store
    • Tip Sheets
    • Bill Paying System
  • Forum
    • Current Forum Discussions
    • How to Use the Member Forum
  • Newsletters
  • Join the Club
    • Why Members Come Back
    • Twenty Reasons to Join the Cheapskates Club
  • Contact
    • Changing Details
    • About Us >
      • Cath's Story
      • Ask Cath
      • Glossary of Cheapskating Terms
    • Help Files >
      • Help File TOTD