100 Days to a Cheapskates Style Christmas Day 61: Personalised Mouse Pads
We can't escape technology, especially our computers. But we don't have to live with ugly computer accessories. I spend a lot of time at my desk, working on my computer, and I want my working environment to be pretty.
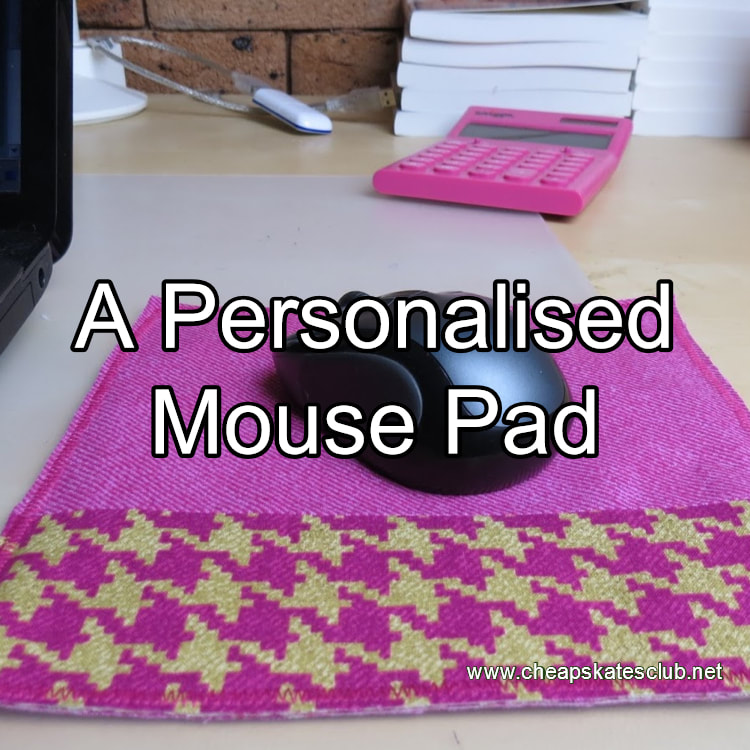
A simple way to pretty up my desk (and it cost nothing - I used fabric leftover from other projects) was to make an attractive mouse pad.
You will need:
Fabric 1: 22cm x 22cm piece of fabric for the back
Fabric 2: 22cm x 15cm piece of fabric for the front
Fabric 3: 22cm x 9cm strip of contrasting fabric for the front strip
Heavy weight fusible interfacing: 2 pieces 22cm x 22cm
Step 1. Cut all fabrics to the measurements above.
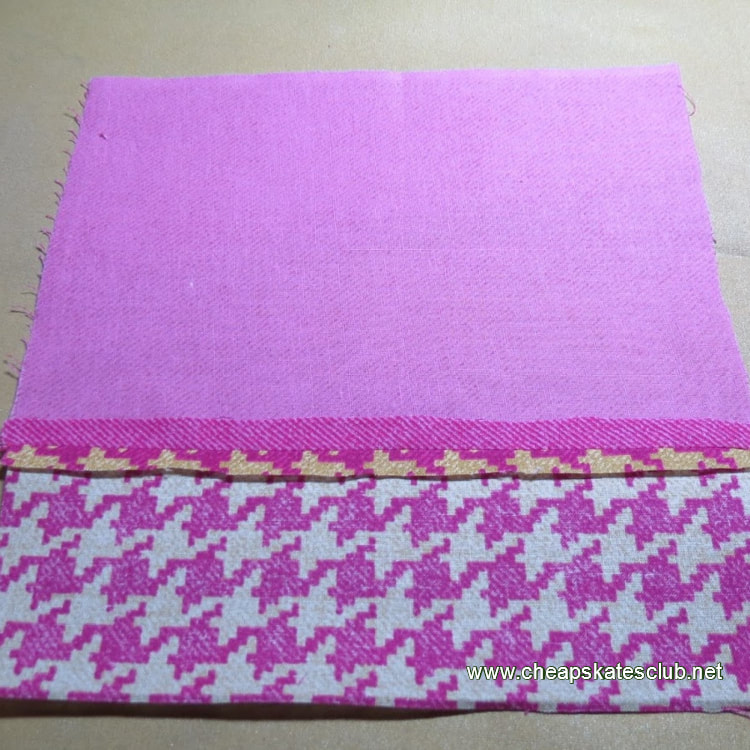
Step 2. Lay the two front fabric pieces (Fabric 2 and Fabric 3) right sides together, matching the 22cm edges. Stitch with a 6mm seam. Press the seam open.
Stitch the two front pieces together using a 6mm seam. I used a contrasting patterned fabric for the trim section
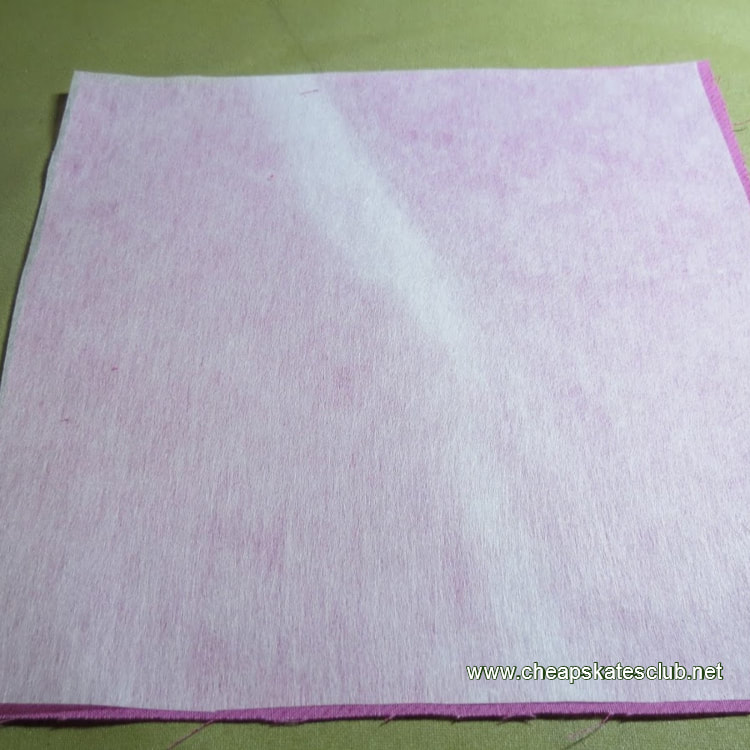
Step 3. Following the manufacturer's instructions, iron the interfacing to the wrong side of the front piece you've just made. Then iron the second piece of interfacing to the wrong side of the back fabric piece (Fabric 1).
Iron the interfacing to your fabric pieces as per the manufacturer's instructions then trim the edges.
Step 4. Take the two pieces of fabric and lay them wrong sides together. Square them up and pin the edges. Trim any excess. Using a tight zigzag stitch sew around all four sides, very close to the edge. Trim as needed, being very careful not to cut the stitching.
Step 4. Take the two pieces of fabric and lay them wrong sides together. Square them up and pin the edges. Trim any excess. Using a tight zigzag stitch sew around all four sides, very close to the edge. Trim as needed, being very careful not to cut the stitching.
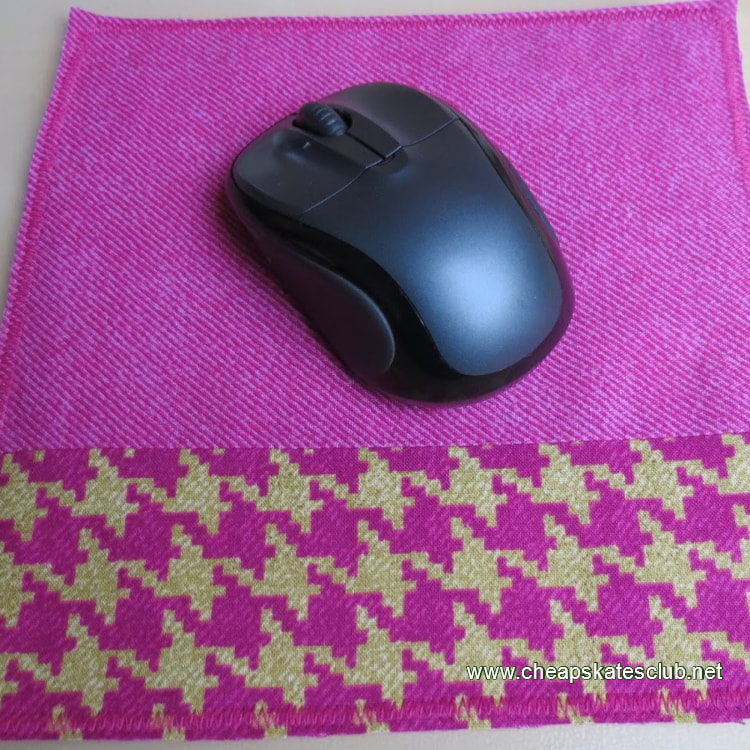
The finished mouse mat, zig zagged and trimmed, ready to use
This project is easy, a beginner sewer will be able to make a mouse pad without any trouble. They take about 20 minutes to put together from the cutting of the fabric to the final trimming. You'll spend more time cutting the fabric pieces to size than you will sewing, but the end result is worth it.
Cotton fabric is best, quilting cotton, calico, linen, even cotton upholstery fabric will work for this project.
You can whip up a few mouse pads in different fabrics to suit the decor or personality or style of the recipient in just a few minutes, and if you use scraps of fabric you have on hand, very little cost.


