100 Days to a Cheapskates Style Christmas Day 62: Pretty Ribbon Bookmarks
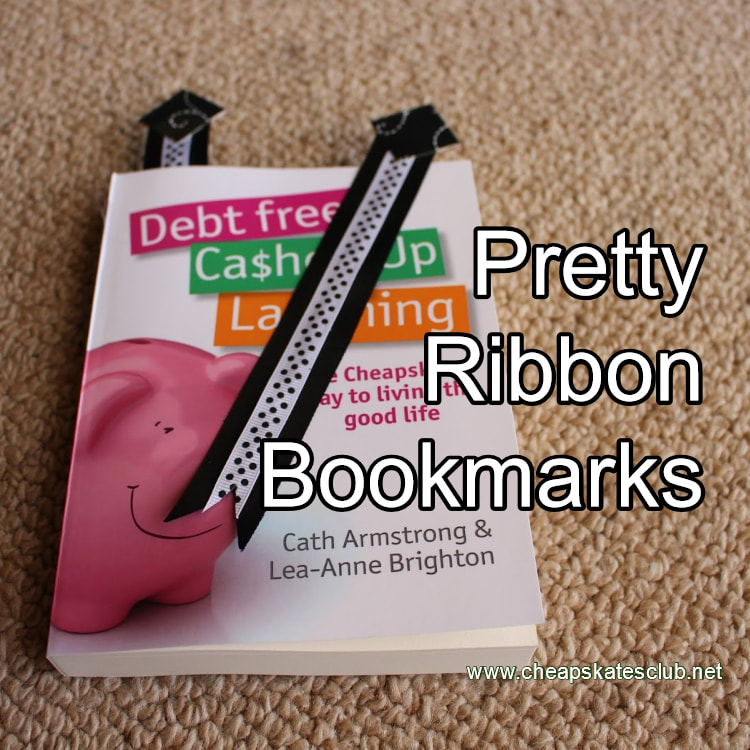
These bookmarks are so very pretty, very handy and a wonderful way to use up those little lengths of ribbon every crafter seems to collect.
Being easy and quick and cheap to make, they are great gifts for kids to make for school friends and teachers.
You will need:
Ribbon of different widths - one narrow, one a little wider
Spray adhesive or a good fabric glue (I use the Lincraft spray adhesive, there are lots of different brands available though)
Card stock
Hole punch
Adhesive flowers (I used scrapbooking embellishments)
Step 1. Place the narrow ribbon on the wider ribbon. Trim the ends to fit. Spray the narrow ribbon with the adhesive and stick it to the wider ribbon. Press it down firmly.
Step 2. Trim the ends of the ribbon with fabric scissors so they are even.
Step 3. Punch or cut two pieces of card stock. You can use a round shape or a flower or even a square. Glue two punched-out pieces of card stock at top of the ribbon, one on each side, to make a tab. Press them together firmly.
Step 4. Attach your adhesive flower or sticker or whatever embellishment to the card stock.