|
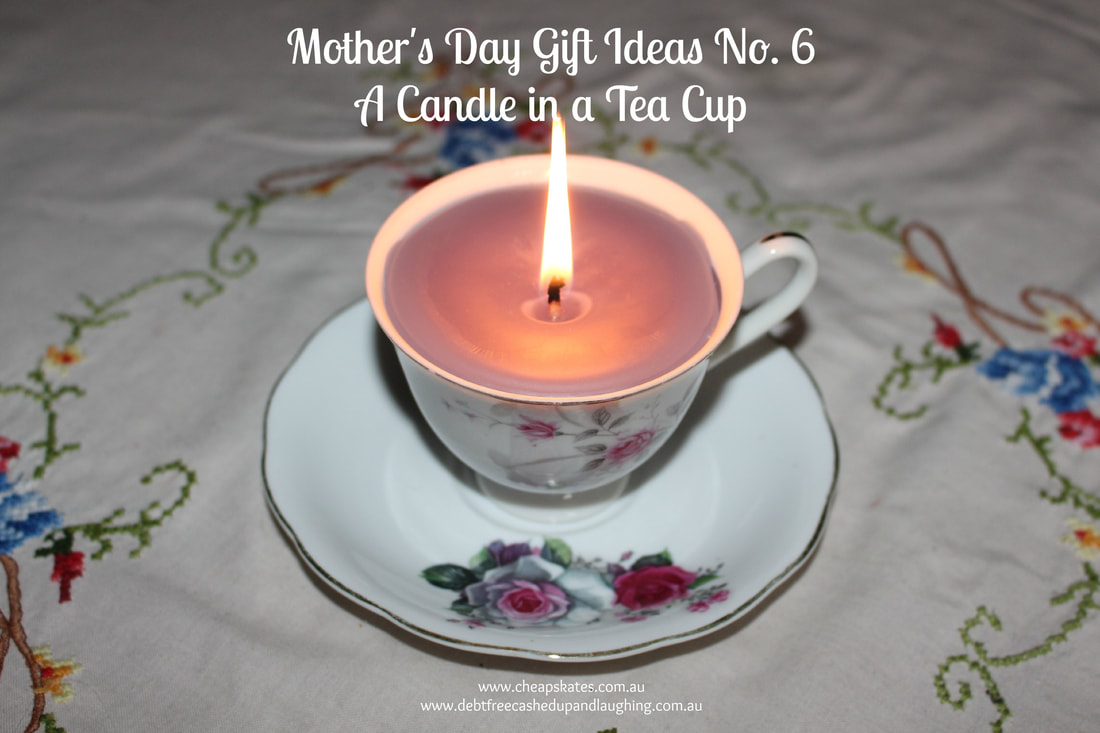
Pretty cups and saucers can be used for more than just afternoon tea. This candle in a tea cup is gorgeous, and cost almost nothing to make. I used a 50 cent cup and saucer from my favourite Op Shop, a candle we already had that was a little out of shape, a length of cotton string from the kitchen drawer and a few drops of lavender essential oil to scent it. They are quick to make too, about 15 minutes all up. This candle cost me 50 cents. I saw a similar thing at Coles yesterday, in their Mother's Day display, for $11! A Candle in a Tea CupYou will need: 1 tea cup and saucer 2 or 3 coloured candles Cotton string (or a candlewick if you have one) Your favourite essential oil Hot glue gun An old fruit tin or similar for melting the candles A large saucepan Step 1. Using your hot glue gun, glue the cup to the saucer. Step 2. Break your candles into smallish pieces. Put them in the fruit tin. Fruit tins are ideal for this step as you can throw them away when you are finished. If you do use a saucepan, don't use one of your favourites or you'll be cleaning it for ages. Wax is very difficult to remove completely. Use a fruit tin and avoid the stress (and the work). Step 3. Sit the fruit tin in a large saucepan. Fill it with water to about half way up the side of the fruit tin. Bring the pot of water to the boil, all the while stirring the melting candles. Once the water is boiling, turn it down to a simmer. Continue to stir the candles as they melt. Step 4. Cut a length of string twice the height of your cup. Dip the string into the melted wax a couple of times to stiffen it. Step 5. Carefully pour a tiny blob of melted wax into the bottom of the tea cup. Stick one end of the wick to the bottom of the cup. Step 6. Holding the wick straight (you might need someone to help you here) fill the cup to the brim with the melted wax. As the wax cools it will form a slight dip in the centre. Melt any remaining wax and fill the dip. Add embellishments to the rim of the cup, the handle and/or the saucer if you wish to. Platinum members can login for full access to the Tip Store
Not a Platinum Cheapskates Club Member? Please upgrade to a Platinum Cheapskates Club membership to be able to access our Member's Centre. Click here to upgrade your Cheapskates Club membership today
0 Comments
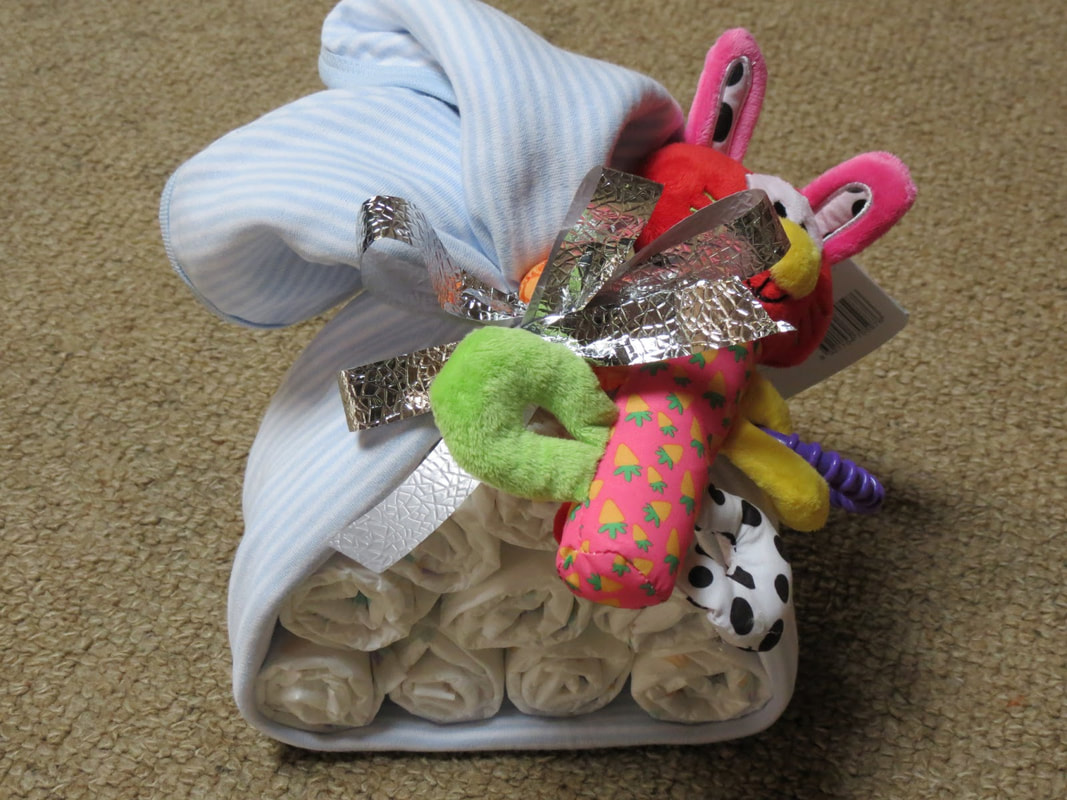
These are a lovely gift for a new mum, and yes, they get their name from the mythical baby bundles left by the stork. They are easy to make, taking only a few minutes and look really cute when you hand them over. Best of all they are inexpensive and anyone, no matter how creative, can whip one up in just a few minutes.
You will need: 10 new born disposable nappies 10 rubber bands a length of ribbon one bunny rug Step 1. Roll each nappy like a Swiss roll and secure with a rubber band. Step 2. To assemble the bundle, fold the bunny rug in half lengthwise and then in half again, creating a long strip. Lay the folded blanket in front of you and stack four rolled nappies in the centre. Step 3. Stack three nappies on top of the first four, then two nappies, and then one on the top. Step 4. Fold the ends of the blanket up to help hold the nappies in place. Make sure the top of the bunny rug is even on both sides. Step 5. Tie the ends of the blanket together with a ribbon, attaching a teething ring or dummy to the ribbon. The instructions are for a stork bundle made with disposable nappies, which, despite their environmental issues, will make life easier for the new mother in those first few days before she gets into a routine - please don't point the cost, dollar, environmental or otherwise out to me before you finish reading. Stork bundles can be made up with anything that will roll. I've made them with cloth nappies and face washers, and even a bundle of flannelette bunny rugs with great success. A bundle of MCNs would make a lovely and very useful gift too. You could use bibs, jumpsuits, singlets - anything at all that will roll up. Use your imagination! All these things are very handy with newborns, and you can never have too many nappies, face washers or bunny rugs as they all have so many uses. |
Archives
April 2020
Categories
All
|


 RSS Feed