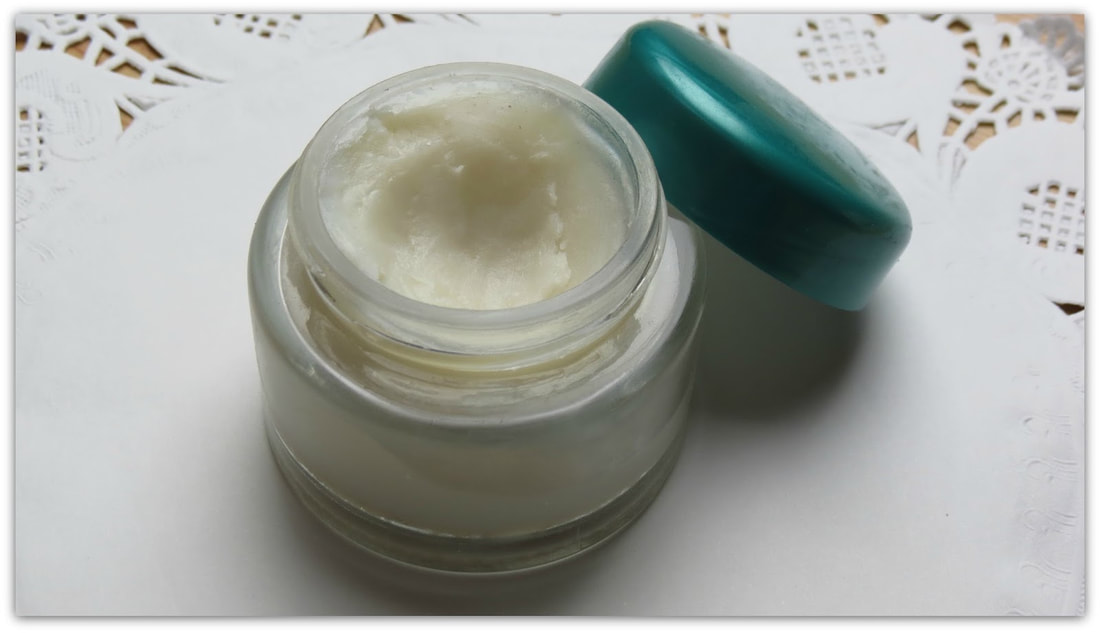
 Eczema is horrible. It's red, itchy, scaly, painful and ugly. If left untreated it can leave horrible scars. And it is almost as common as the common cold. And like the cold, there really isn't any one successful treatment for this painful skin complaint. Hannah and AJ both suffer from eczema and have done since they were babies (another reason I MOO washing powder and soap). Over the years we've spent a fortune on creams and lotions, doctors and specialists, natural remedies and some not so natural. And while some of them worked for a short while the eczema always came back and the painful cycle would begin all over again. Until Hannah found a recipe for a homemade cream and gave it a try. And it worked! Oh joy, oh happy relief! It soothes and stops the itching, cools the skin quickly and moisturises and softens dry scaly patches. Best of all we had all the ingredients in the kitchen. Over the years we've tweaked it to the recipe below. It is far and away the best eczema cream we have used and its all natural - not a steroid in sight, no need for a prescription and it costs under $1 a jar. *This price was current at the time of publishing. As of 30th September 2023, the cost of a jar of MOO Soothing Eczema Cream is $1.57 - the greatest increase was the cost of the coconut oil. It only has four ingredients: rolled oats, coconut oil, rosemary oil* and olive oil. 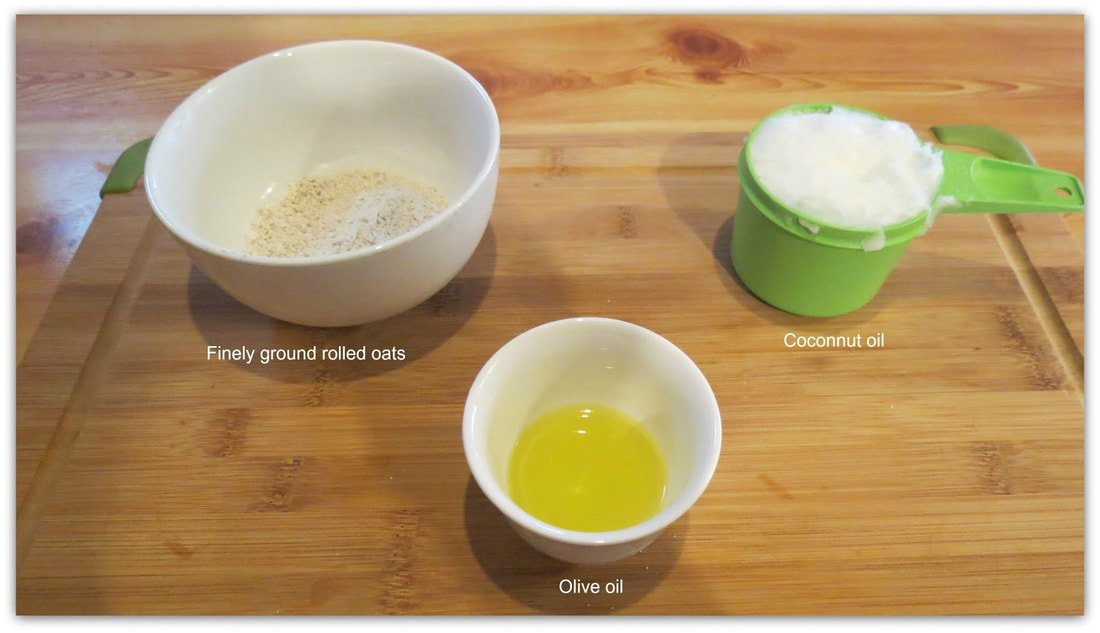 Oats have been used to soften and moisturise skin for centuries. They are know for their anti-itching properties and are an easy treatment for dry skin. Coconut oil is rich in fats, Vitamin E, proteins and fatty acids. It is renowned for it's moisturising and anti-aging properties. Because coconut oil doesn't go rancid it can be applied to the skin it can work longer without going rancid. Rosemary oil is know for it's therapeutic properties and is a common ingredient in shampoos and moisturisers for it's purifying properties. This recipe can be used as a daily skin moisturizer to prevent eczema from flaring up. If by chance it does still appear this helps to nip it in the bud quickly! You will need: 1/4 cup of oats 3/4 cup of coconut oil Few drops of rosemary oil* (optional) 1 tbsp of olive oil A small jar with a screw top lid, sterilised Step 1. Finely grind the oats to a powder/flour consistency and set aside. I use my food processor but you can use a stick blender, vitamiser, mortar and pestle (if you have the muscles), a Magic Bullet - any appliance that will grind the oats into a fine powder. 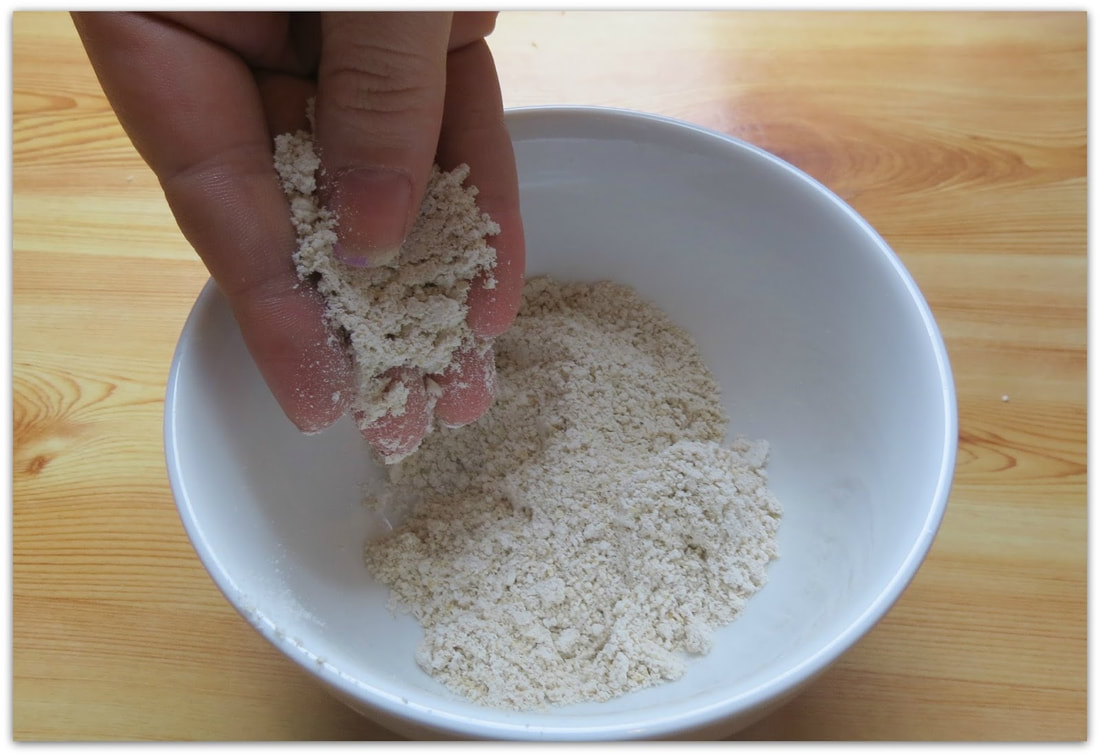 Step 2. Over a low heat, melt the coconut oil in a small saucepan until it melts.
Step 3. Add in a few drops of rosemary oil if you are using it. I usually add 8 drops as we like the fragrance and I like the antibacterial properties of rosemary oil. Step 4. Add finely ground oats to the saucepan and mix until well blended. At this stage the mixture will be quite thin. Step 5. Now, pour the olive oil into the mixture and stir until blended. Step 6. Once all ingredients are thoroughly combined remove from the heat and let it cool, absorbing all the goodness from the oats. While it is still semi-liquid pour in to a small, sterilised storage container. It won't matter if you get any of the oats in the jar, your cream will just have a little texture. If you don't want any oats, strain the liquid into the jar. Let it cool and harden for several hours. Apply to hands and skin as needed and feel the moisturising magic at work! From Debt Free Cashed Up and Laughing
12 Comments
 Last year the kids gave me a waffle iron for Mother's Day and I love it. I'm not a gadget fan, but this is one that has been well used in the 8 months we've had it.
Waffles are so quick and easy to make, no need to buy a $4 packet of waffle mix. We have them for breakfast, lunch, dinner and dessert - not all at once! With fruit, syrup, ice-cream, custard, jelly, baked beans, eggs, sausages - the toppings are limited only by your imagination and pantry supplies. Waffles Ingredients: 1 cup SR flour 1 tsp sugar 2 tbsp oil 1 tsp salt 1 cup milk 2 eggs Method: Mix all ingredients together, beating until smooth. Heat waffle iron. Pour 1/2 cup batter per waffle into the wafflie iron. Cook for 2 - 3 minutes or until waffles are golden and crisp. Save money by limiting the expensive or extravagant items you buy. For example, if you love an exotic, organic cake mix but it’s expensive, buy one every other month. Consider it a special treat when you have it, rather than something you must have every week or two.
Or better still, MOO cake mixes, store them in ziplock bags and you can make a cake whenever you feel like it. MOO Vanilla Cake Mix Ingredients: 4 cups plain flour 4 cups SR flour 6 cups white sugar 1/4 cup baking powder 2 tsp salt 2-1/4 cups unsalted butter* Method: Combine all the dry ingredients and then cut in the shortening with a pastry knife until it is very fine. Place in a 4 litre airtight container. Store for up to 3 months in the fridge. Bring the cake mix to room temperature to use it. *Note: Use real butter, do not be tempted to use margarine. To make a cake: Ingredients: 4-1/2 cups cake mix 3 eggs 1 tsp vanilla extract 1/3 c vegetable oil 2/3 c milk Method: Pre-heat oven to 175 degrees Celsius. Grease and flour a 33cm x 23cm cake tin. In a large bowl mix eggs, vanilla and oil. Add the cake mix, stir to combine. Then stir in the milk. Bake for 30-35 minutes or until a toothpick comes out clean when inserted in the middle. 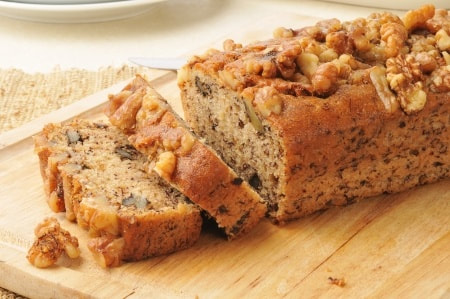 MOO Bisquick Banana Bread - the nicest and easiest banana bread ever! I love the convenience of mixes ready to go. At the moment I have chocolate cupcakes, tea cake, sultana muffins, cranberry muffins, cream of chicken soup, taco seasoning, spaghetti seasoning, pizza dough, doughnuts, instant custard, white sauce mixes all in jars (I love them too) or ziplock bags. I print the ingredients and method either onto a label or straight onto the jar or bag with a Sharpie so anyone can take a mix and make it. Means Wayne or the children can help me with baking or meal prep without my supervision or even input. Annabel, over at The Bluebirds are Nesting (Blue Wren in the forum) is doing a series on pantry preparedness. She posts a new topic each week and this week it was mixes. I love mixes. They are a vital component of my pantry, my stockpile and go a long way towards helping to keep our grocery bill to $320 a month. I can't remember the last time I bought a cake mix. Hannah bought a couple last year and made them, red velvet cupcakes if I remember correctly. We HATED them - they tasted so fake, had a horrible after-taste and left a greasy, thick feeling in our mouths. And they were expensive. During MOO Month I shared my go-to chocolate cake mix recipe.  A few years ago I put together a small ebook of mixes, called Make Our Own….Mixes. It's one of the more popular downloads in the member's centre, having been downloaded almost 32,000 times since it was first published! That's a lot of people MOOing mixes, or with the knowledge to MOO them. Annabel was asking for a Bisquick recipe. Bisquick isn't a common ingredient in Australian recipes, but as the Internet makes it so easy for us to find and try recipes from other countries, and as it is a popular product in the USA and Canada, knowing how to MOO it means we can try these recipes, save money on the packets and keep the nasty ingredients out. This is my Bisquick recipe. I use it to make biscuits, scones (if we are camping, otherwise I make Lemonade Scones), crumble topping, shortcakes, pancakes, pastry, as the base in impossible pies and quiches - it's very versatile. MOO Bisquick Mix Ingredients: 6 cups plain flour, sifted 3 tablespoons baking powder 1 tablespoon salt 1/2 cup cold, unsalted butter Step 1. Measure the sifted flour, baking powder and salt into a large bowl. Use a wire whisk to blend thoroughly. Step 2. Cut in cold butter using a pastry cutter until thoroughly incorporated. Store refrigerated in an airtight container for up to 4 months. This makes 6 cups of mixture. I pack it in 2 cup portions in ziplock bags in the freezer because I don't have room in the fridge. I keep most of my mixes in the freezer. Why? Well firstly because I don't have the shelf space for them. Secondly, some of them contain butter or oil and need to at least be refrigerated. They can be used straight from the freezer, if there are any clumps just break them up before you add the wet ingredients. Here are two of the ways I use it.  MOO Bisquick scones, hot and ready to enjoy MOO Bisquick Scones
Ingredients: 2 cups MOO Bisquick mix 2/3 cup milk. Method: Mix to a dough. Gently press out to about 2cm thick. Use a glass or scone cutter dipped in flour to cut into rounds. Place on a baking paper lined scone tray. Bake at 210 degrees Celsius for 12 - 15 minutes or until risen and golden. MOO Bisquick Banana Nut Bread This delicious banana bread uses MOO Bisquick as a shortcut. With the addition of cream cheese and walnuts you have one of the easiest and nicest banana breads you've ever tasted. Ingredients: 2 cups MOO Bisquick mix 1 cup sugar 250g cream cheese, softened 3 medium bananas, mashed 2 eggs 1/2 cup chopped walnuts Method: Pre-heat oven to 175 degrees Celsius. Grease and line the base of a loaf pan. Beat sugar and cream cheese together until smooth (it's easier if you use the mixer for this step). Add in the mashed bananas and eggs, and beat until well combined. Gently stir in Bisquick and walnuts, until just moist. Spread evenly into the loaf pan and bake for one hour. Cool completely before serving. This is a very moist banana bread, it doesn't rise to a high loaf, and it's just great for using up brown or black bananas. It also makes a great Gift in a Jar - just pack the dry ingredients in layers in a jar, add a label with the ingredients needed and the method. Add a pretty jar topper and a ribbon and it's ready to go. Mixes are great. MOO mixes are even greater. If you haven't tried to save money, time and energy with MOO mixes, give them a go. I'm sure you'll love the convenience and the cost.  Boxed (or packet) cake mixes are convenient - to a point. You still need to add the wet ingredients, usually egg, water or milk, butter or oil, so what you're paying up to $9 for is basically flour, sugar, a rising agent, flavouring of some kind and then a whole lot of things you can't pronounce and really shouldn't be eating. That cake mix convenience ends up costing you up to $11! If you make a cake from scratch you'll use flour, sugar, butter or oil, milk or water, an egg or two, flavouring of some kind and if you didn't use self-raising flour, a rising agent (baking powder or bicarb soda, depending on the recipe). And your cake will cost you under $2! Now cake mixes are supposed to be convenient time savers because you just dump the contents into the mixer, add the wet stuff and beat for 3 minutes. If your recipe is a one-bowl mix, like the I've shared below, you do the same thing - dump all the ingredients into the mixer and beat for 3 minutes. It may take you a minute to measure out the flour, sugar and flavourings so a from scratch cake will take you 1 or 2 minutes longer to get to the baking stage. At a saving of up to $9 a minute or two is nothing. And they will both take about the same time to cook too, so no saving there. If you really love cake mixes, and I confess I do, you can quite easily make your own. When I'm baking a cake I get out a half a dozen ziplock bags and measure out the dry ingredients for 7 cakes, the one I'm baking and 6 to put in the cupboard. The bags are labelled with the type of cake the ingredients will make - chocolate, coffee, butter, sultana, cherry or whatever, a list of wet ingredients and the instructions. I do this a lot so I have marked the bags with a Sharpie. Once the mix has been used the bag is washed and dried and put away ready to use again - and the instructions are already written on it. 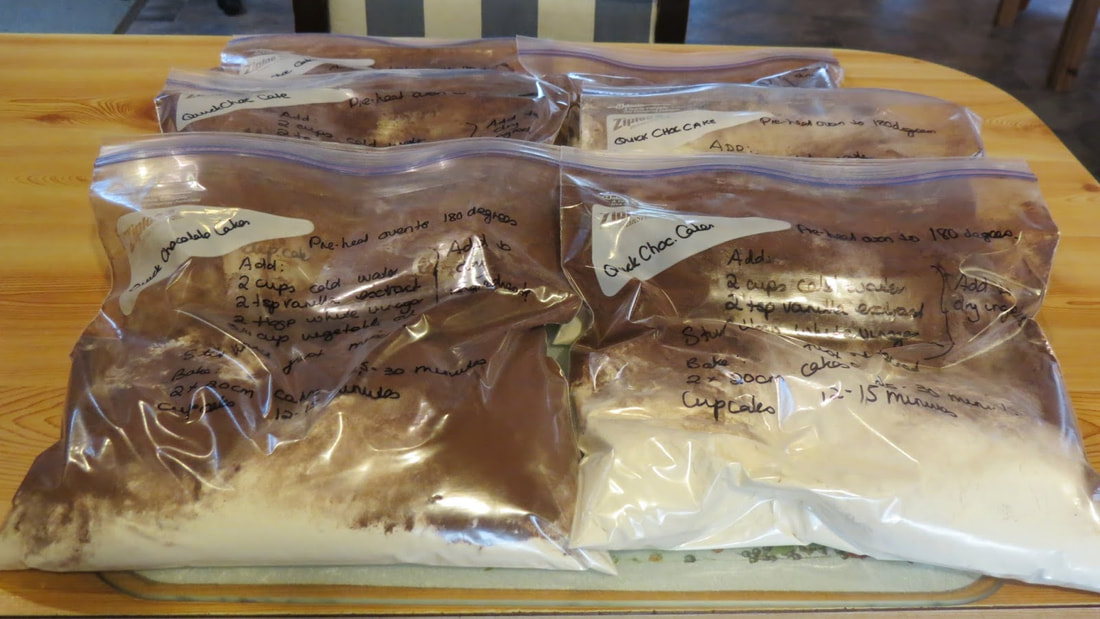 This is a quick chocolate cake I make into MOO Cake Mixes.
Quick Chocolate Cake Dry Ingredients: 3 cups SR flour 2 cups sugar 1/4 cup cocoa Wet Ingredients: 2 cups cold water 2 tsp vanilla extract 2 tbsp white vinegar 3/4 cup vegetable oil You can double, triple, quadruple the quantities (I measure out 7 lots at a time). Put the dry ingredients into ziplock bags and seal. Label the bag and add a list of the wet ingredients and the instructions. To make a cake add the wet ingredients to the dry ingredients. Stir until just combined. One quantity will make 2 dozen cupcakes or two 20cm square cakes. Bake at 180 degrees Celsius for 25 - 30 minutes for 20cm cake (or until a skewer inserted in the middle comes out clean). Bake for 12 - 15 minutes for cupcakes or until a skewer inserted in the middle comes out clean. 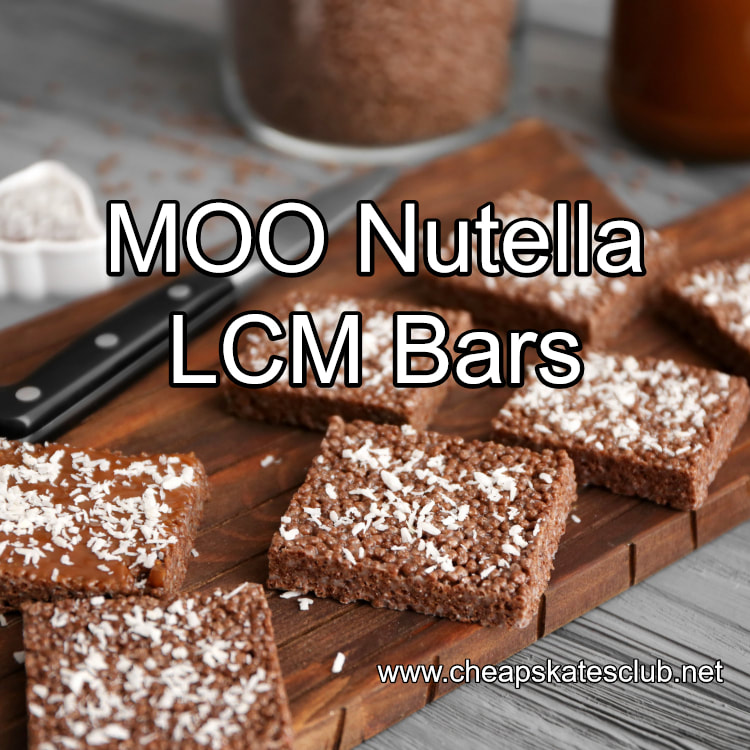 Nutella and marshmallow - what a tasty treat! Buy the hazelnut spread and marshmallows on sale, use generic ricies and make twice the amount for less than half the price!
From the Cheapskates Club No Bake Recipe File Ingredients: 4 cups Ricies 1 small jar Nutella (or the equivalent brand) 2 x 200g pkts marshmallows 3 tbsp butter Method: Grease a 20cm square cake tin. In a large saucepan, on low heat, melt the butter. When the butter has melted add the marshmallows, stirring until they are completely melted. Turn the heat down to very low. Add half the Nutella, stirring until it melts. Add the remaining Nutella and stir until the mixture is smooth and everything has completely melted and combined. Pour in the Ricies and stir until well coated with the marshmallow mixture. Remove from the heat and quickly pour into the prepared cake tin. Press down with wet hands to smooth and firm the mixture. Put in the fridge to set. Once set cut into 20 squares to serve. Store in an air-tight container for 1 week.  Ingredients:
500g strawberries, washed, hulled, chopped 1 cup white sugar 1 large lemon, juiced Method: Place strawberries into a 3-litre capacity heatproof microwave-safe bowl (such as Pyrex). Add sugar and 1/4 cup lemon juice. Microwave, uncovered, for 4 minutes on High/100%. Stir to dissolve the sugar. Microwave for a further 15 minutes on High/100%, (jam should still be a little runny) or until jam reaches setting point. (see note). Spoon hot jam into hot sterilised jars. Seal. Turn jars upside down for 2 minutes. Turn upright and allow to cool. Once opened, store in the fridge for up to 2 months. Note: To test jam: before starting the cooking process place two saucers in the freezer. After 15 minutes, take one sauce from the freezer and pour a teaspoon of jam onto the saucer. If the jam sets and stays when the saucer is turned upside down then it is set. If not cook in 5 minutes bursts, checking each time, until setting point is reached.  MOO Celery Salt!
Use those Celery Leaves! I love celery salt and use it a lot. Instead of discarding the leaves, place them onto a baking tray lined with baking paper. Bake in a gentle oven for a few minutes until the leaves are dry and crumbly. When cool mix thoroughly into a small pot of salt. You can use a mortar and pestle if rock salt, or a small grinder if you prefer. From the Tip Store: Cooking: Ingredients When you grow rhubarb you understand it's either a feast or a famine. Those pretty red and green stalks can be few and far between while you're waiting for them, as soon as you ignore it, that rhubarb crown will just go beserk. When this happens in your garden, make Rhubarb Champagne. It's a delicious, slightly fizzy, pretty pink drink that's as easy to make as ginger beer and just as refreshing. And if you grow rhubarb and lemons and make your own apple cider vinegar it is really, really cheap - about $1.00 to make. 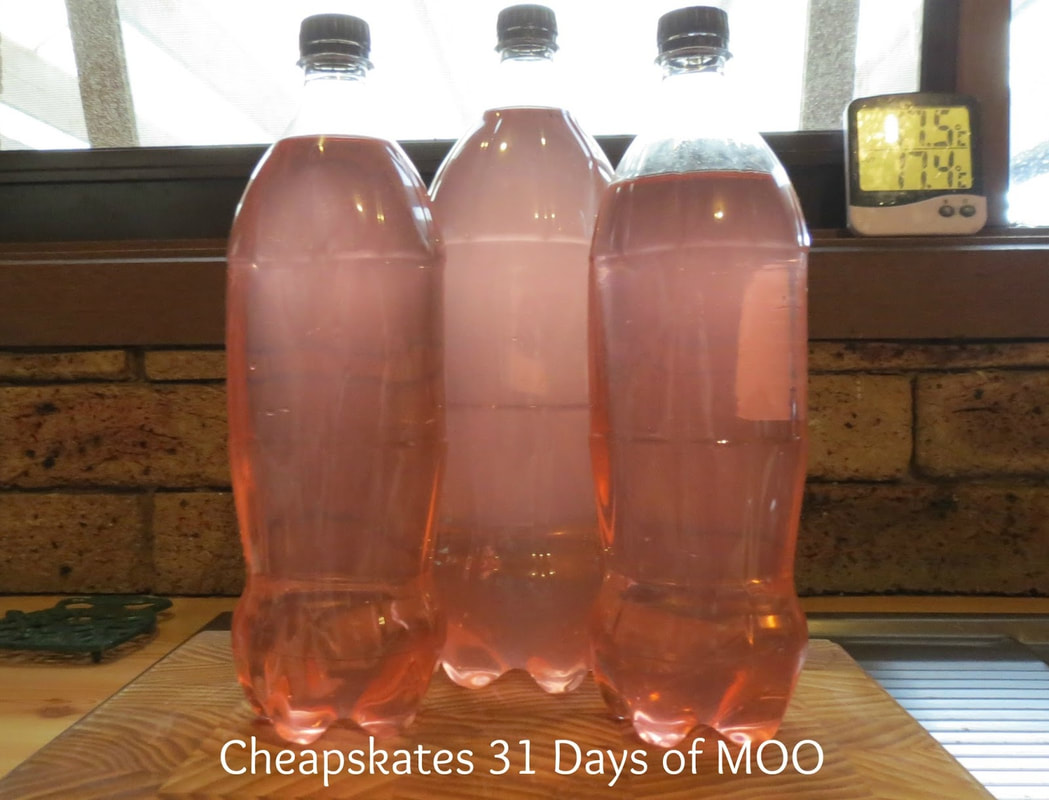 Rhubarb Champagne Ingredients: 5 litres cold water 1 lemon, thinly sliced 3-1/2 cups rhubarb 3-1/2 cups sugar 3/4 cup apple cider vinegar Step 1. Wash rhubarb and lemon. Don't peel the lemon but slice it thinly. Cut the rhubarb into rough chunks. Step 2. In a clean and sterilised bucket put the water, apple cider vinegar, sugar, rhubarb and lemon. Sit the bucket in a warm spot on your kitchen bench. Don't put a lid on the bucket, the mixture needs to gather the natural yeasts in the air to start the fermentation process. Leave for 48 hours (no longer or the rhubarb will sour the drink and it will be ruined). 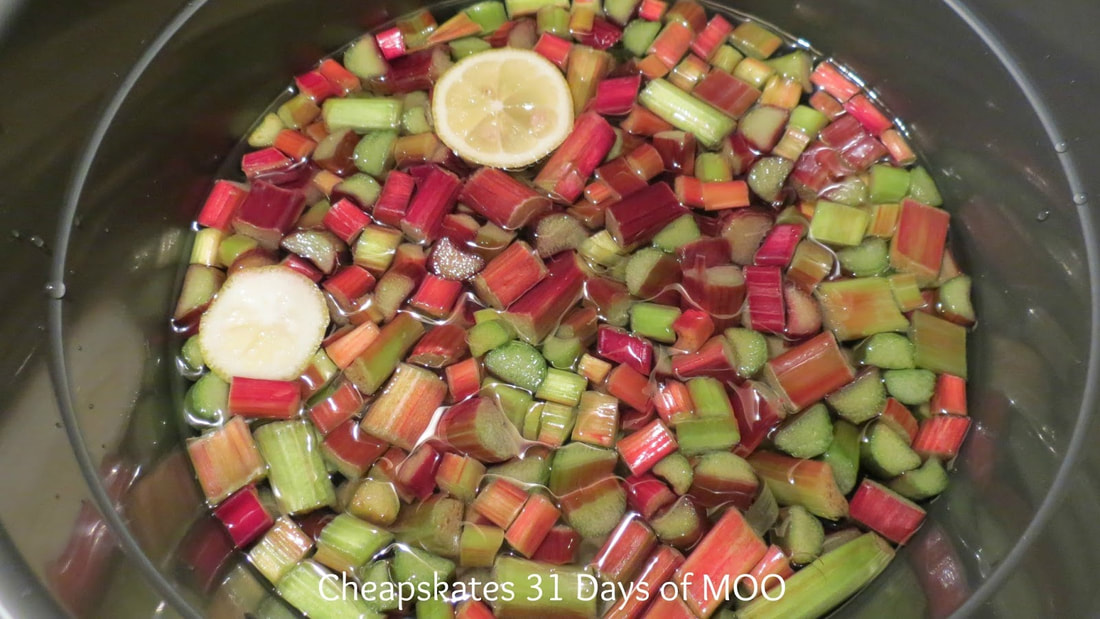 Step 3. On bottling day, wash and sterilise bottles and caps. I use recycled soft drink bottles that have been thoroughly washed and cleaned; you can use cleaned and sterilised wine or beer bottles and caps if you can get them.
Step 4. Strain the rhubarb champagne through a cheesecloth or Chux. Add the rhubarb and lemon to the compost or feed the scraps to your chickens if you have them. Bottle and cap the champagne. Store in a dark cupboard for up to 2 weeks. The drink is ready in three days - two weeks, depending on how fizzy you like your drinks and of course the weather, it's ready earlier in summer than it is in winter. Chill well before serving. Makes four 1.25ml bottles of rhubarb champagne. From the Drinks Recipe File One of my biggest bug bears is wasting food.
When you throw food out, or even put food in the bokashi, you are throwing your money away. We have pineapple with our salads, and one tin does two meals for the five of us. When I open a tin, I take out the four slices we need, then tip the other slices and juice into a container and put it in the fridge until the next night. The Aldi pineapple rings in juice are what we like. They are bought in bulk when I replenish the stockpile each year. After I use the remaining pineapple slices, instead of drinking the juice, or worse, pouring it down the drain, I make a quick marinade with it. I add a slurp of vegetbable oil, a dash of soy sauce and a pinch of garlic and give it all a shake. Then I plan chicken for the next night, take it out of the freezer and pour the marinade over. Let it marinate overnight in the fridge and then it can be baked, fried or barbecued. And nothing is wasted! |
Archives
April 2020
Categories
All
|
 RSS Feed