|
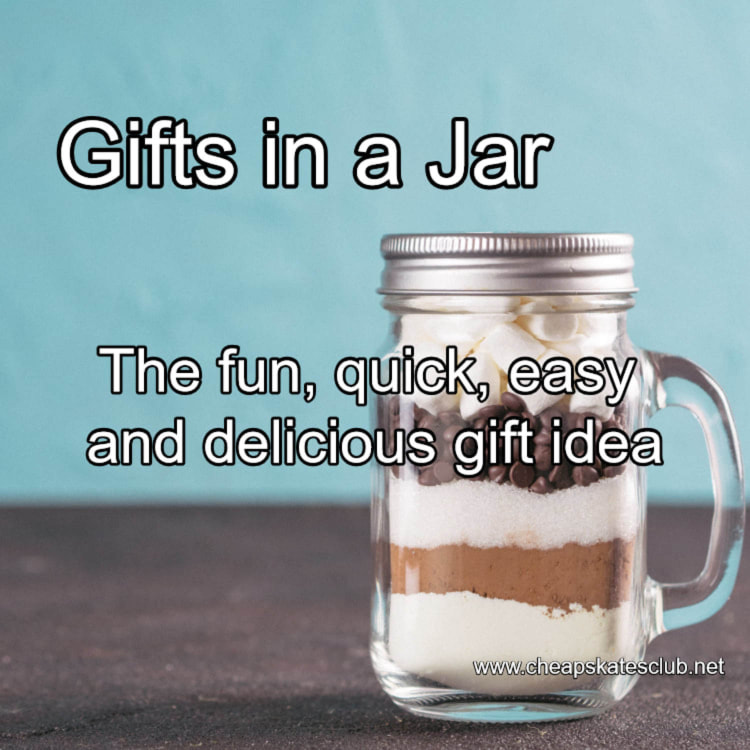
Need a gift in a hurry? Go to your stash of jars then head to the pantry and start packing that jar with all the ingredients to make Simple Shortbread or Snickerdoodles and voila you have a gorgeous, very useful, very inexpensive gift in a jar!
FROM THE MEMBERS CENTRE: GIFTS IN A JAR Gifts in a jar can be as simple or as complex as you like. They can be in jars or boxes or buckets or any other container suitable for the contents of your gift. They can be for eating or gardening or sewing or relaxing in the tub. Gifts in a jar are only limited by your imagination. Here are two of my favourites: Simple Shortbread Mix Ingredients: 1 cup SR flour 1/2 cup ground rice 1/4 tsp salt 3/4 cup castor sugar Method: Combine ingredients and pack into a jar. Attach label with instructions as below. Simple Shortbread 1 jar Simple Shortbread mix 1 cup butter Heat oven to 150 degrees Celsius. Cut cold butter into flour with a knife. Using fingertips knead shortbread mix and butter until mixture resembles breadcrumbs. Use a knife to mix into a dough. Press mixture into a shortbread mould (if you have one) and cook on a baking sheet or press and cook in a greased, 20cm round cake tin. With a butter knife mark out wedges (you should get 12). Bake for approximately one hour, or until light golden on top. Do not brown. Cut into wedges while still warm. Snickerdoodle Mix 2 3/4 cups SR flour 1 1/2 cups sugar 1/4 tsp salt Method: Combine ingredients and pack into a jar. Attach label with instructions below. Snickerdoodles 1 jar Snickerdoodle mix 1 cup butter 2 eggs 2 tbsp sugar 2 tsp cinnamon Heat oven to 200 degrees Celsius. Cream butter with electric mixer until light and fluffy. Add eggs and beat until mixture is smooth and creamy. On low speed, add Snickerdoodle mix and beat until a dough forms. Roll dough into balls about the size of a 20 cent coin. Mix sugar and cinnamon in a small bowl. Roll balls of dough in the cinnamon sugar and then place on ungreased cookie sheets, about 5cm apart to allow room for spreading. Bake 8 - 10 minutes until light brown. Cool on wire racks.
0 Comments
Ingredients:
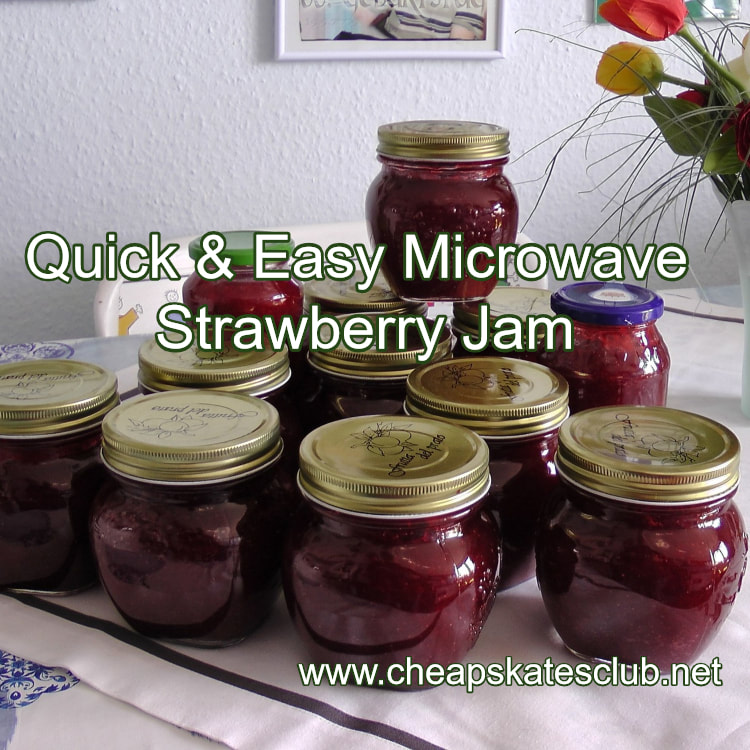
500g strawberries, washed, hulled, chopped 1 cup white sugar 1 large lemon, juiced Method: Place strawberries into a 3-litre capacity heatproof microwave-safe bowl (such as Pyrex). Add sugar and 1/4 cup lemon juice. Microwave, uncovered, for 4 minutes on High/100%. Stir to dissolve the sugar. Microwave for a further 15 minutes on High/100%, (jam should still be a little runny) or until jam reaches setting point. (see note). Spoon hot jam into hot sterilised jars. Seal. Turn jars upside down for 2 minutes. Turn upright and allow to cool. Once opened, store in the fridge for up to 2 months. Note: To test jam: before starting the cooking process place two saucers in the freezer. After 15 minutes, take one sauce from the freezer and pour a teaspoon of jam onto the saucer. If the jam sets and stays when the saucer is turned upside down then it is set. If not cook in 5 minutes bursts, checking each time, until setting point is reached. Easy Rocky Road
Ingredients: 1 x 250 gm packet snakes 2 x 200 gm blocks milk chocolate, melted 1 x 100gm packet mallow bakes (mini marshmallows) 1 cup roasted unsalted peanuts, toasted 1 cup desiccated coconut Method: Grease an 8 cm x 26 cm bar cake pan; line base and two long opposite sides with baking paper, extending paper 5 cm above edges of pan. Using scissors, snip snakes into 2-cm lengths. Combine snakes with remaining ingredients in a large bowl; mix well. Spoon mixture into prepared pan, pressing mixture firmly with back of spoon. Cover refrigerate several hours or until set. To serve, stand for 10 minutes at room temperature before cutting into slices. I have also put some mixture into patty pans and once set turned them out and placed them upside down on a plate put some ice cream on the top for children who would not eat plum pudding at Christmas time. This hamper comes complete with the ingredients for MOO Pancake Syrup, MOO Hotcakes and the tip sheets with full recipes in a neat gift hamper making it portable, the ideal gift for the family heading off on holidays.
Cheapskates Hotcakes Hamper You will need: Mum's Secret Hotcakes & Moo Pancake Syrup Tip Sheet Large paper lunch bags 2 x ziplock sandwich bags 1 x 250ml glass bottle with a leak-proof stopper (an old mint sauce bottle is good) 2 cups SR flour 1/4 cup milk powder (skim or full cream) 2 tsp sugar 2 cups brown sugar 1 tsp vanilla sugar Optional - cast iron pancake pan - from specialty stores, around $5 Instructions: Print the tip sheets. Mix the SR flour, powdered milk and sugar together and put into a ziplock bag and label "Hotcake Mix". Place the brown sugar and vanilla sugar into another ziplock bag and label "Pancake Syrup Mix". Decorate the front of one paper bag with "Hotcake Mix" and another with "Pancake Syrup". Decorate a third paper bag with the words "Cheapskates Hotcakes Hamper". Place the hotcake mix and the pancake mix into this bag along with the small glass bottle. Fold the tip sheet and slip into the paper bag. Fold the top of the bag over and staple shut. Attach a gift tag. This shortbread makes a wonderful gift, on its own in a pretty box or on a nice plate, or teamed with a special tea or coffee and a nice cup and saucer. It's also gender neutral - anyone can enjoy homemade shortbread.
Grandma's Shortbread - $3.55 Ingredients: 250g butter $2.50 1/2 cup castor sugar 25c 1-1/2 cups plain flour 30c 2/3 cup rice flour 50c Method: Pre-heat oven to 170 degrees Celsius. Beat butter and sugar until light and fluffy. Sift flours together. Using fingertips gradually work flours into butter mixture until combined. Knead on a floured surface until smooth. Roll out to about 2cm thick. Cut into circles or fingers. Put on buttered trays. Sprinkle with castor sugar if wanted. Prick top of biscuits with a fork. Bake until firm and light golden around edges, about 15 - 20 minutes. Cool on cake rack. Store in airtight container. This is no ordinary run 'o the mill hamper - this is a Cheapskates Style Cleaning Hamper - the best gift ever for the practical people on your gift list.
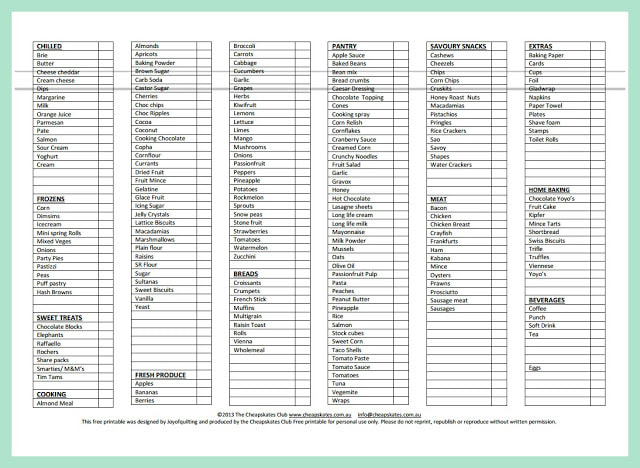
It will come in at under $20. Cleaning Hamper - $16.10 You will need: 1 plastic bucket - 80c Laundry soap - $2.00 Washing soda - $4.00 Borax - $4.10 White vinegar $1.20 1 packet microfibre cleaning cloths $4.00 Cleaning Tips Grandma Used Cheapskates Washing Powder Print Tip Sheet. Pack all the items into the bucket, wrap with cellophane and tie in a bow with ribbon. You should find all the items at your local supermarket, but if you have time, you'll do better on prices for the microfibre cloths at $2 shops or even a hardware store. For the laundry soap, generic or store brand is fine. A box of four cakes is around $2.20, and you'll find it in the laundry aisle, usually towards the bottom of the shelves. Washing soda (or sodium carbonate) is from the laundry aisle. The common brand name is Lectric Soda, it's in a white packet with red writing on it. You may need to search for it, but it will be there. Borax is the mystery item on this list. Not all supermarkets keep it on the shelf, both my local Coles and Woolworths do, but you need to search for it. It's in the cleaning aisle, towards the pest control section. At Coles the brand is Bare Essentials, in a white tub with a pink lid. If you can't find it at the supermarket, don't despair. You'll get it at a hardware store, and definitely at Bunnings. For the microfibre cloths, if you have the time to zip into your favourite $2 shop, they'll be much cheaper than at the supermarket. If you're pressed for time, check the prices at the supermarket before you toss them in the trolley. Coles sell a pack of three - dusting, glass and kitchen - for $4, Simply Clean. And they're labelled so you know what their use is. One question I get every year, usually just after Christmas, is do I think that the Christmas hampers available on the lay-by system are worth the money? And every year my answer is an emphatic no. Because when you break them down, they cost a lot more than the same items would if you were to source them yourself. When you MOO your Christmas hampers you choose what goes into it (you're not stuck with foods you don't like and will never use). You also get to choose when to buy those things (if you're smart you started with the non-perishables earlier in the year and bought them on half-price sale or even better, on clearance). And you choose how much of each thing to put into your hamper. Cheapskaters have their own methods of getting amazing Christmas hampers at rock bottom prices that have exactly what they want in them. If you're not familiar with it, I recommend the Joyco Hamper method. Joyofquilting is a long time Cheapskates Club member (she's also the inventor of Miracles Spray) and a few years ago she posted her template for her very own Joyco Hamper. Joy starts her Christmas grocery shopping early in the year, buying and stockpiling non-perishables and baking supplies and she uses her very detailed hamper template.
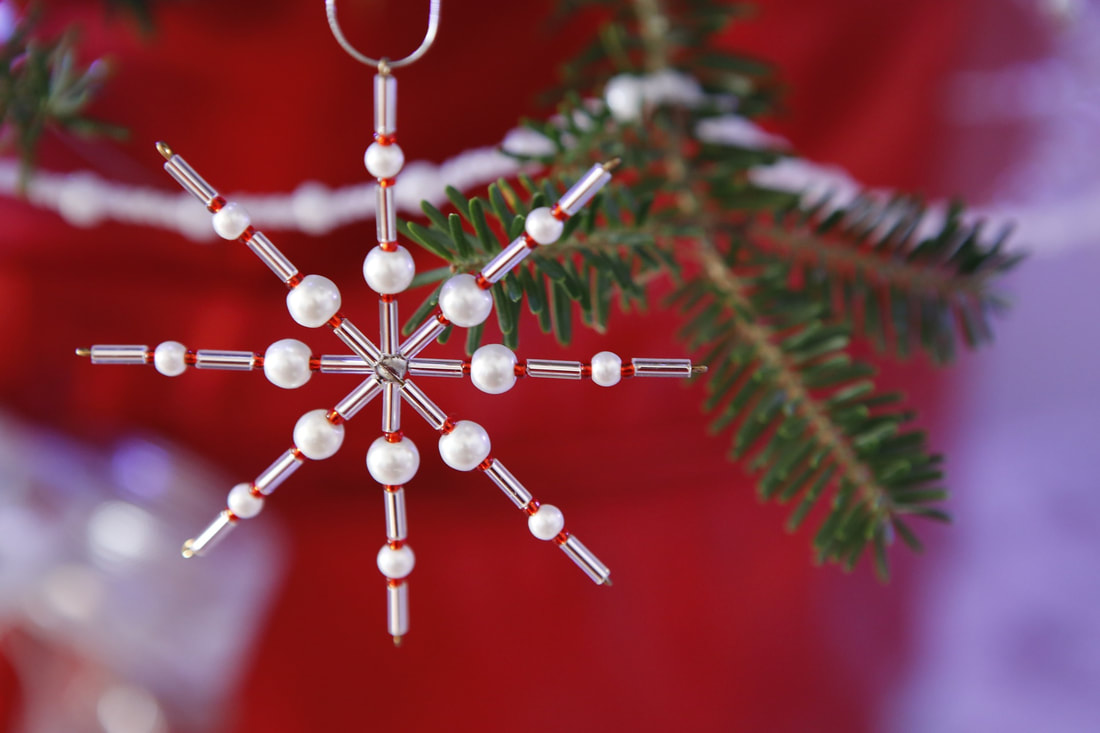
I usually start my Christmas/New Year grocery shopping in September and have it all finished when I do the November the shop. The bonus for me is that I buy enough to keep me out of the supermarket until it's time to do the March grocery shop the next year. Then the only things I buy are milk, eggs, bread and some fruit and veg, and only because I can't store enough of those things and keep them fresh for long enough. Why? Mainly because I loathe shopping in the heat and battling crowds during December and shopping during January doesn't appeal either - I want to enjoy our summer holidays. Having the Joyco Hamper template to work off helps me to remember to include the Christmas treats on my shopping lists. Things like ham, turkey, chocolate almonds, drinks, nuts, extra dried fruits, even the bon bons and candles for the table. And I can assure you my version of the Joyco Hamper doesn't cost anywhere $800, or even $400 a la the DIY version on the news. No siree! I budget $120 for our hamper and it includes all of the above, plus the extra veggies, serviettes, cheeses, dips, crackers, olives, pudding and cake ingredients and so on. Enough of my rambling, the point of this post is to share the Joyco Hamper template with you - just click here to download your copy.. As we Cheapskaters have been known to say, "make it your own". Use it as is or add or delete according to your needs. And smile as you shop for your Joyco Hamper because you'll be saving an absolute bundle. You can make really pretty and unique baubles for your Christmas tree with just sewing thread, paperclips and two or three different, recycled gaudy necklaces made of large beads. Just string one large bead with two, three or five large ones and use a paperclip to hang them on the Christmas tree. You'll find a wonderful assortment of necklaces at any op shop for just $1 or $2 each and you'll get a lot of ornaments from one necklace.
Willow wreaths are so easy to make and they look lovely, either as they are or decorated. I use small willow wreaths to decorate our Christmas tree. If you want to use them for the same thing, you need to make them now so they have time to dry.
To make a small willow wreath, approximately 5cm in diameter you need one long or two short willow strands. Step 1. Strip the leaves from the strands. Step 2. Take one strand and twist it into a small circle. Weave one end around the circle to secure. Step 3. Take the other end and weave it in and out of the circle until you reach the end. Step 4. Tuck the end into the weaving to secure. Step 5. Lay the wreaths on several thicknesses of newspaper and place them in a warm, dry spot (in front of a sunny window is ideal). Turn the wreaths every day or so. Leave them for a month until they have dried. To decorate use craft paints to spray them gold, silver or red. Use a hot glue gun to stick berries, flowers, bows or other embellishments. Cut a 10cm length of narrow ribbon. Fold in half and glue raw edges to the back of the wreath. Let the glue dry then hang by the ribbon. Where to find willow: Weeping willows grow all over the place. They were once very common but have fallen out of favour due to their creeping and invasive roots. You'll still find them in parks and along creeks and waterways, or even along the side of a country road. I make Wayne stop at the picnic area between Goulbourn and Yass every time we are coming home from Sydney so I can collect a few more willow strands (the willows are on the southbound side of the freeway, which is why we stop on the way home). If the willow is on private property ask permission before taking just the number of strands you need to make your wreath. Glitter is fun to use. It adds sparkle and shine, and wonderful colour to lots of different craft projects. Kids love to use it on posters and cards and on dough crafts. Mums love to sprinkle it under the Christmas tree or on a bedside table as fairy glitter and watch little faces light up with wonder and delight when they see it.
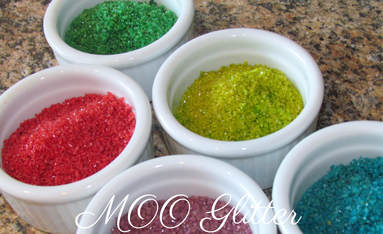
The problem is glitter is expensive. And it gets absolutely everywhere. Well not this homemade glitter. It's so cheap it's ridiculous, is really easy to clean up, safe for kids to use and can be made whenever you need it because it only takes about 15 minutes to prepare. To MOO glitter you will need: Table salt or sea salt, depending on whether you want fine or chunky glitter Food colouring Small bowl Fork Biscuit tray Baking paper Air tight jar Turn the oven on to heat to 180 degrees Celsius. Put your salt in small dish and add 1 drop of food colour. Stir with a fork to mix the colour through. Add another drop if you want darker colour. Make sure you mix it really, really well so the colour is evenly spread through the salt. Line a biscuit tray with baking paper. Spread the salt on the tray. Bake for 10 minutes. Let the glitter cool on the tray. Store it in an airtight jar, and use it just as you would regular glitter. Shared from Debt Free, Cashed Up and Laughing |
Archives
April 2020
Categories
All
|



 RSS Feed