 Grow your own. It's not really hard and can be so satisfying. When tomatoes are $5/kg and you have bushels of them on your plants you'll have a smile on your face.
You don't need to have huge garden beds and spend hours and hours in the garden. You can start with a styro foam box (ask your greengrocer, just don't tell him you're going into the grow your own business). Plant lettuces, tomatoes, carrots, strawberries, silverbeet, capsicums, eggplant, parsley, mint, chives - whatever you eat - in these boxes and sit back and watch your savings grow. Visit the Gardening Tips pages in the Menber's Centre to get some expert advice on just how to get started and then jump right in, just like Deb Parker did. "Since I mastered the art of pot gardening last summer I have managed to keep my family (five of us) in vegetables all year. The only veggies I have bought for twelve months have been potatoes and onions. I started with two concrete pots with tomatoes in them and have moved on. I now have 49 concrete pots of varying sizes placed around the sides of our house and each one has something growing in it. Oh, I didn't buy the pots. I looked up our council hard rubbish calendar and on the first day of each hard rubbish collection in our bordering areas I spent an hour driving around collecting pots. I haven't had to buy any. I cleaned them and painted them inside and out before planting, to help them retain the moisture. They look great and better still they are saving me money." Contributed by Deb Parker
0 Comments
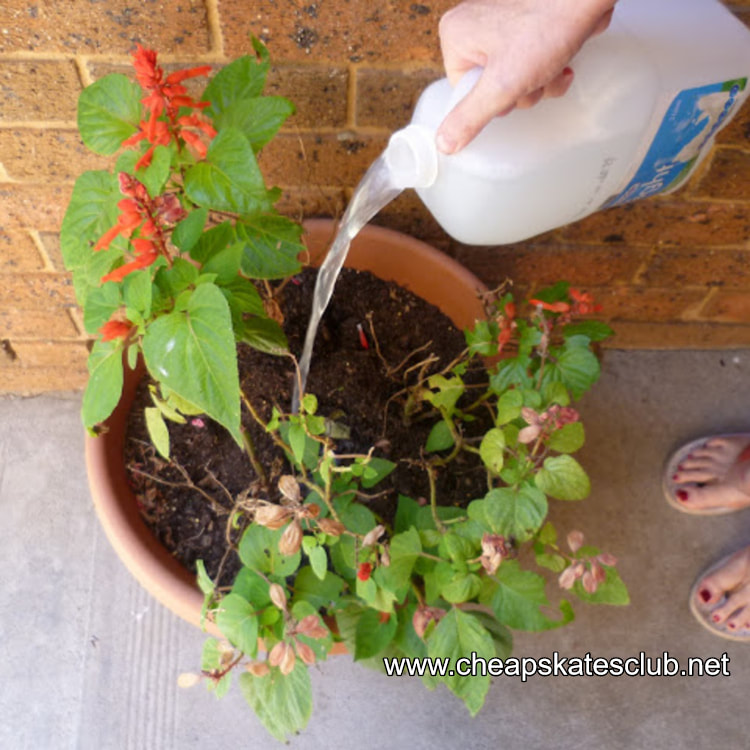 If you want to save on liquid fertiliser, save all the water you've used to rinse out your empty milk cartons, beer bottles, jam jars, tea pots, vegetable water etc and give it to your indoor plants, pot plants or border plants, they love it! And not only will you save yourself from going through liquid fertiliser/food so fast, but you'll even save a bit on your water bill!
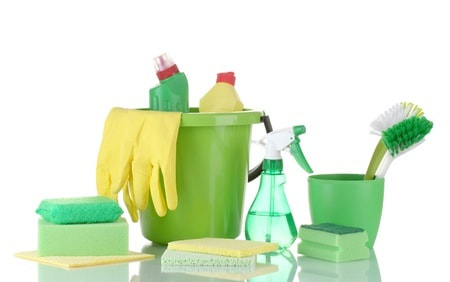 As I was whizzing through the checkout at my local supermarket recently I was astounded to hear the fellow on the checkout telling the lady in front of me that she must have the cleanest house around because she had so many different cleaning products in her trolley. She had a multi-purpose spray, window cleaner, a gel cleaner, another gel bathroom cleaner, a bleach, a box of washing powder, a spray bottle of ironing aid, a spray can of furniture polish, a shower cleaner and two bottles of toilet cleaners. Brother what a load of money she was about to pour down the drain! I couldn't help myself and joined the conversation when it became a "but I have to have them or I just can't keep the house clean" talk. I politely pointed out that a bottle of vinegar, a box of bicarb, a jar of borax, a bar of soap and perhaps a little elbow grease would do the same job as all these cleaners for a fraction of the price and damage to the environment. I was very excited when she decided I was right and she didn't want all those cleaners. I did feel a little sorry for the people behind us as she had them taken off her bill, but I was so proud of her, especially when she said she already had everything she needed to clean the Cheapskates way in her cleaning cupboard. This experience had me thinking: just how many of us have never tried to clean using cheaper alternatives because we didn't know there were any or we weren't sure how to use them? You can make your own household cleaners easily and best of all cheaply using these tried and true recipes. As well as saving you money, these cleaners will save you time and effort and rid your home of some nasty chemicals too. If you were to make all the recipes below you would have a cleaning solution for just about every household cleaning problem for the grand total of $6.72! If you were to add the equivalent of these products to your shopping trolley you would add another $44.50 to your grocery bill. By making them yourself you are saving around $37.80! What an incredible saving! By keeping some very inexpensive and basic supplies in your cleaning cupboard you can clean your whole house for just a few cents rather than hundreds of dollars. Bi-carbonate Soda (bi-carb or baking soda) – is a powerful cleaning agent on its own, even more powerful when combined with other materials. Borax - found in the cleaning aisle, usually next to the Drano. I use Harpers, in a white tub with a red lid. It's usually on the bottom shelf. Vinegar – is made from fermented apples, grapes, sugar cane, malt or wine. It is an acid and a mild disinfectant. Washing Soda – buy it in the supermarket under the brand name Lectric Soda. It is a good water softener. Eucalyptus Oil –can be bought at supermarkets, chemists, health food and hardware stores. Use eucalyptus oil to remove sticky residue, as an inhalant and a disinfectant or a cleaner. It is toxic, so keep it away from children and pets. It will also damage plants, so beware when using it in the garden. Window Cleaner Cost: $0.10 for 250ml extra strong window cleaner 1/2 tsp washing up detergent 3 tbsp vinegar 2 cups water 1 drop blue food colouring (optional) Blend well and store in spray bottle. Scouring Powder Cost: $1.89 for 600g scouring powder 1 cup bi-carb soda 1 cup borax 1 cup salt Blend and store in container. Furniture Polish This is so easy to make, and it works! Cost: $1.13 for 375ml furniture polish 1 cup vegetable oil 1/2 cup lemon juice Pour oil and lemon juice into a squirt bottle or jar. Stir to combine. To use, dip dust cloth or rag into oil, blot the oil by folding the cloth together, and then dust your furniture. Leaves a beautiful finish! Washing Powder Cost: $1.88 for 90 washes 1 bar laundry soap 1 cup washing soda 1/2 cup borax. Grate soap. Add washing soda and borax. Use 3 teaspoons per load for top loading machine, 2 teaspoons per load for front loader. Super Effective Weed Spray Cost: $0.40 for 4 litres weed spray 4 litres white vinegar 1 cup salt 1 tbsp washing up detergent. Mix well. Spray on weeds to kill them. This is a very effective weed spray so only spray it on the things you want to kill. It is excellent for weeding paths and pavers and along the edges of garden beds. Shared from Debt Free, Cashed Up and Laughing 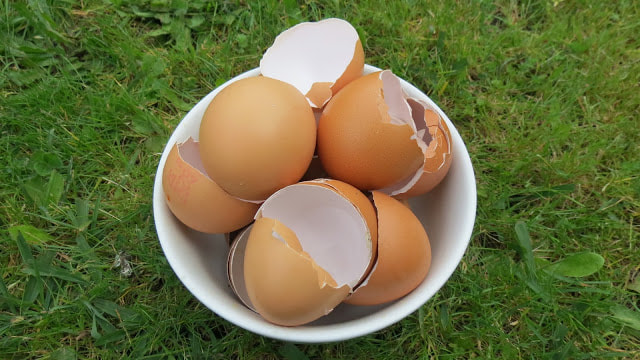 To most people an egg shell would be rubbish, tossed in the bin and sent to landfill. Some keen gardeners may compost them or use them as snail repellent. Folk with chooks may grind them and add them to their chook's food as shell grit. But most people just toss them.
I have a little dish that sits on the sink and whenever we use an egg, the shell gets rinsed in cold water and then put into the dish. When I need egg shell for something, it's right there, ready and waiting to be used. Egg shells are surprisingly useful. Here's a list of 10 ways I use egg shells around our home. 1. Use egg shells to whiten and soften linen. Soak greying linens in boiling water with the juice of a lemon and two or three ground egg shells added. Let them soak overnight, then rinse and hang in the sun to dry. The linens will be white and soft, no nasty chemical whiteners or softeners needed. 2. In the garden to keep snails and slugs off seedlings. Just crush the egg shell and sprinkle it around the tiny plants. Snails and slugs won't travel over the sharp edges so your plants will be safe - from those predators at least. 3. Add them to chook food. Egg shells are a great source of calcium and grit, two things hens need to produce nice health eggs. Wash the egg shells and when you have a few grind them, either in a blender, with a stick blender or with a mortar and pestle and add it to the chook food. 4. Boil the shells in your coffee. At home we have a coffee maker but when we're camping we use an old fashioned stove top percolator. Adding egg shells to the percolator with the coffee grounds takes away the bitterness than can happen when coffee is boiled accidentally. 5. Use them to feed tomato plants. Calcium rich, crushed egg shell is a good source of this mineral for tomato plants. Tomatoes need calcium to prevent blossom end rot, a common tomato problem. Put a couple of egg shells in the hole before you plant your tomato to give it a boost. Then through the growing season grind egg shells, sprinkle them around the base of the tomato and water in. 6. As tiny seedling starters. Rinse out the egg shells, poke a couple of tiny drainage holes in the bottoms and fill with potting mix. Plant your seeds and when they are ready to be transplanted, gently squeeze the egg shell to crack it and then plant it intact in the ground. 7. Compost them. Nothing more needs to be said. 8. You don't compost? No problem, crush them, sprinkle over the soil and then lightly rake them in. 9. Turn them into ornaments. Rinse them well and let them dry. Then let your creative streak go to town. Paint them, add glitter and sequins, fill them with cotton wool, add little tiny ornaments, cover them with braid, glue on a ribbon hanger - use your imagination! 10. Add them to the bird feeder. Crush them up and mix in with the bird seed to give the wild birds that visit your garden a treat. So how do you use egg shells? Share your idea in the comments below Take that old shower caddy and put it to good use as a hanging herb or succulent garden.
After our bathroom renovation I had a spare shower caddy, just taking up space and doing nothing useful. I thought about hanging it over the tap in the backyard to hold soap for handwashing then saw a picture of one being used as a hanging basket. You will need: 1 hanging shower caddy Potting mix Herb seedlings Coconut fibre Step 1. Line the basket/s of your shower caddy with coconut fibre. Make sure it is at least 2cm thick and covers the entire basket area. It has to hold potting mix and seedlings. Step 2. Fill the baskets with potting mix and water. Plant your seedlings. Step 3. Hang your basket against a wall, off a verandah railing or from the fence. You'll be growing your own fresh herbs and repurposing something that would otherwise have gone to landfill. Oh, you'll save money on a hanging basket or pot too. 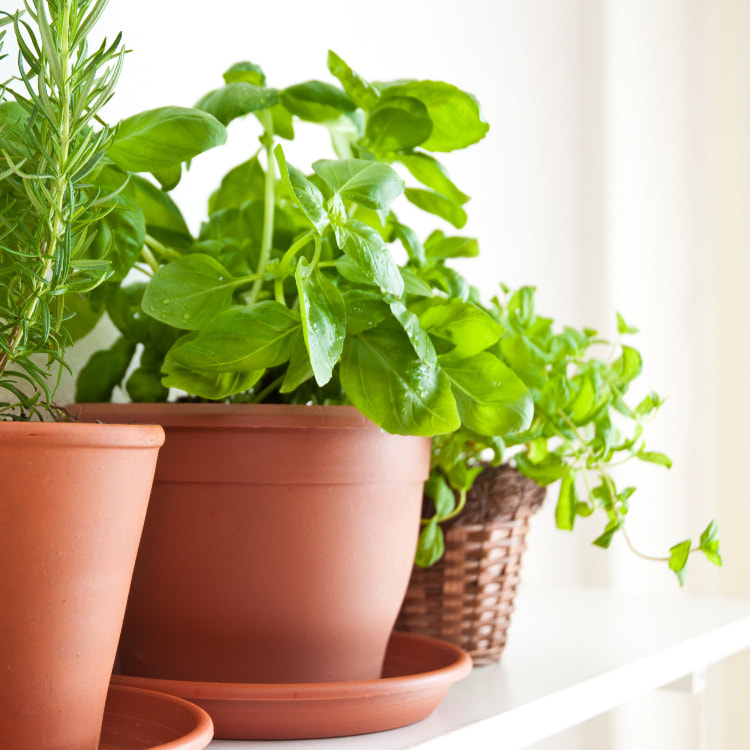 Pizza is just about everyone's favourite food. It's easy to make (try our Penny Pinching Pan Pizza), tasty and these days it can be healthy too.
When you MOO pizza, using fresh herbs turns what could be a tasty pizza into a gourmet delight. And what better way to have fresh herbs for your pizza than to grow a "pizza garden" by growing some of the herbs that are commonly used on pizza. A typical pizza garden will contain basil and oregano, and perhaps thyme and parsley. You could also grow some of the other things that often go into pizza sauce, like garlic and roma tomatoes. If you want to make the garden larger, you can also add some common pizza toppings like capsicums and onions. A pizza garden is ideal for container gardening and is a wonderful introduction to gardening for children. Since children really love pizza, they should be able to relate to this type of garden very well. They’ll also have fun knowing what goes into one of their favourite foods. 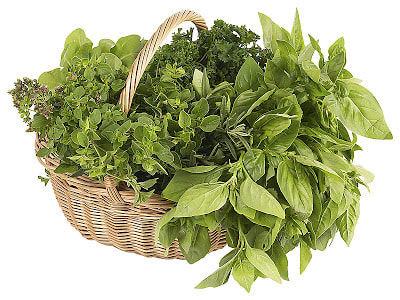 I've really noticed the end of summer this week. The days are getting shorter, or rather the sun is setting earlier and it is dark much later in the mornings. Before too long winter will be here and with it a whole lot of extra expenses: heating, warm clothing, more fuel for the car (less walking in winter weather) and more indoor pursuits which invariably seem to cost something.
I've also noticed it because I've spent the last two glorious days in the veggie garden planting our winter veggies. They should have been in a couple of weeks ago but time was away. It was a major garden renovation, so I had to wait until there was almost nothing left. We have moved four of our big veggie boxes so they are in line with the rest of the garden. This came about because we need a new side fence (what a palaver and all over a fence). To get the new fence the old creepers had to come down (yay!). This freed up a whole lot of space - about 54 square feet - in the back garden. It also meant I could move the veggie boxes so they now get sun all day long, instead of just 7 hours. Unfortunately to move the boxes we had to empty them. That meant digging out the soil, shifting the boxes into their new positions, replacing the soil and re-planting. The boxes were moved one at a time, as Wayne was on call and we never knew just when the phone would ring and he'd have to go to work. It was a huge job and took most of the day, but I can't stop grinning, everything looks so lovely and tidy now. Mind you I'm paying for it today; my arms and shoulders are a little stiff and achy, obviously not used to all the pushing and lifting of the shovel. Once the boxes were in place I was itching to get planting. The weatherman says that this is the last of the nice warm days for the year and that a very cold change is on its way for later in the week so I had to get moving. Wayne turned over the compost for me and we dug in lots and lots of lovely, crumbly compost and watered it down, ready for the seedlings. Then he started a new lot of compost with the lawn clippings and the contents of the bokashi bucket and some fern clippings he mulched up. He'll be able to add apple leaves soon; I noticed this morning they are starting to turn yellow on the tree. I've planted mini cauliflowers and cabbages. I love these little vegetables, one is just the right size for a meal for my family so there is no waste and they don't get to go black in the fridge. I pick them as I want them so they are really fresh too. I've also put in some more potatoes (Desiree this time) and re-planted the strawberries into a bigger bed for the winter. Hannah tells me that our homegrown, organic potatoes are the best tasting ever. That’s high praise from my girl who doesn’t really like spuds all that much. I sowed another dozen beetroot too. Have you tried roasted beetroot? Beetroot is a summer salad staple for many Australians but it's even better as a winter veggie roasted in a drizzle of olive oil. Or in a soup or dip. And of course I've sown some more lettuce and broccoli. We'll also enjoy Rainbow Silverbeet, garlic chives, peas, Chinese cabbage, turnips and parsnips (I love baked parsnip), celery and spring onions. I'm tempted to try a couple of tomato plants and keep them in the greenhouse but I fear Melbourne winters just don't get enough hot sun. This afternoon I sowed more silverbeet, cabbage, cauliflower, broccoli, and lettuce and celery seeds. By the time these are ready to go into the garden I should be picking their older mates. That's the plan anyway. Succession planting will ensure we have a steady supply of fresh veggies all winter, and save a small fortune too. For root vegetables, such as beetroot and parsnip, I plant direct. You can buy seedlings of these veggies, but they really do better if they are sown direct and grown from seed. Try beetroot or radishes for salads, turnips and parsnips for soups and casseroles and carrots grown straight from seed and you'll be amazed at how much better they grow for you. There is still one empty veggie bed. This is for onions. It will rest for the next three months, ready for planting in July. The onions did really well this year so I hope I can replicate the results. The soil has been turned over and had lots and lots of manure dug into it. My Grandfather grew the best onions ever, and he grew them in a mix of 3:1 manure to soil - not what the books suggest at all. His onions were always golden and big and very tasty. My plan is to give Grandad's method a try and hope I have his green thumb, at least when it comes to onions anyway. When people ask me how I keep the food bill down the first thing I mention is the veggie garden. The few minutes it takes each day to water, pull the odd weed, re-sow seed and pick gorgeous fresh vegetables is fantastic value for effort. Our fruit and veg bill is so low, around $10 a fortnight, that I once had a journalist accuse me of not feeding my family properly. The look on her face when I invited her out the back to see our garden, and then the smile when she left with a big bag of fresh veggies was priceless. And I think she understood - you don't need to rely on the supermarkets for your food - you can grow it yourself, in your own backyard, and tell the supermarket fruit and veg department goodbye. From Debt Free, Cashed Up and Laughing |
Archives
April 2020
Categories
All
|
 RSS Feed