|
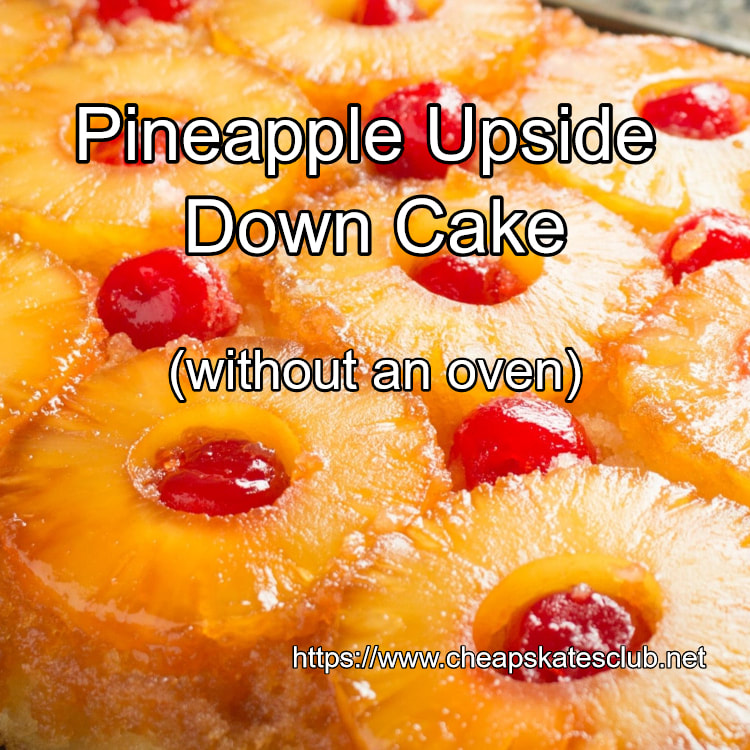
This cake came about because until the kitchen renovation is complete, I don't have a working oven. I saw this pie maker in Kmart for $15 and decided to try it to make a meat pie for our dinner. I figured if it didn't work, then it was only $15 I had wasted.
As Hannah says "best $15 spent ever!" So far we've made pies, quiches and cakes. One of the cakes I tried was a pineapple upside down cake. I found the recipe in Mum's recipe book, and of course adapted it to suit my style of baking (and the pie maker!). It turned out perfectly, and one recipe makes two cakes, one to eat and one to freeze (yes, it freezes!). Ingredients: 1 vanilla cake mix 2 eggs 30ml vegetable oil 3/4 cup water 3-1/2 pineapple slices in juice, drained and let dry a little on paper towel glace cherries 4 tbsp brown sugar 1tsp butter Method: Line the base of the pie maker with baking paper. This isn't necessary for baking pies, cakes or quiches as a rule, but this recipe makes a toffee, so it's easier to tip the cake out if the base is lined. Sprinkle the brown sugar over the baking paper. Dot with the teaspoon of butter. Keep one pineapple ring whole, and cut the others in half. Arrange them over the brown sugar. Put a cherry in the centre of each piece of pineapple. Turn the pie maker on to start heating. Beat the cake mix, eggs, oil and water until smooth. Pour 1 cup cake batter evenly over the pineapple. Smooth it over, if you think it needs a little more batter, add another 1/4 cup. Close and clip the lid. Cook for 10 minutes. Turn off the pie maker and let the cake sit with the lid closed for 5 minutes. Carefully turn the cake out onto a cake rack to cool. Watch me make Pineapple Upside Down Cake live.
0 Comments
These brownies are perfect!
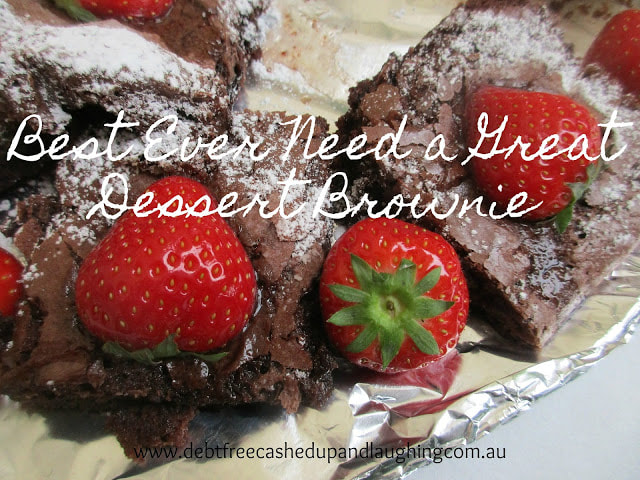
I have all the ingredients, I know everyone loves chocolate and honestly they really are the best brownies ever. They're moist and gooey, fudgey, rich, delicious and cost just $3.40 to make! I'll clarify the cost and let you know that all the ingredients, apart from the cocoa and the choc chips, were from Aldi. The cocoa is Woolworths generic and the choc chips are Cadbury that were bought on half-price sale at Coles. If you use full-price and/or brand name ingredients then the cost will rise - substantially. Unfortunately the end result won't reflect that increase in cost so go generic ingredients if you can. I am generous and cut this dessert into 10 squares, although the original recipe said it would make 12. For 34 cents a serve, it's a budget friendly but extravagant dessert for special occasions. And lastly, I serve them with a dollop of cream, but you could use ice-cream or a nice thick dollop of Greek yoghurt (I like this, it cuts the sweetness beautifully). Best Ever Need a Great Dessert Brownies Ingredients: ¾ cup cocoa powder 1- ½ cups sugar 1 cup plain flour ½ cup dark chocolate chips (or milk or white - whatever you like, they're all good) 225g butter, melted 2 eggs 2 tsp vanilla extract Method: Preheat oven to 180 degrees Celsius. Line a 20cm square tin or casserole dish with baking paper. Sift dry ingredients, then add eggs, melted butter and vanilla. Mix with a wooden spoon to combine. Pour into pan. Bake for 30 to 35 minutes. Remove from oven while centre is still moist and gooey - DO NOT OVER BAKE! Let cool in tin before cutting. Serves: 10 - 12 (go on, be indulgent - cut it into 10, you know you want to!) From the Cakes & Muffins Recipe File This is the quickest and easiest fruit cake you'll ever make and it tastes great! Slice and serve with butter or freeze for a quick grab-n-go snack. It's cheap too. This tea cake costs $1.80 to make. I buy my baking ingredients from Aldi.
Fruity Tea CakeIngredients: 2 cups cold tea 2 cups mixed dried fruit 2 cups SR flour Method: Soak the fruit in the cold tea for 10 minutes. Beat in the self-raising flour. Pour into a greased and baking paper lined loaf tin. Bake at 180 degrees for 30 - 35 minutes or until a skewer inserted into the centre comes out clean. Let stand in tin for five minutes before turning out onto a cake rack to cool. Variations: Chocolate Tea Cake: Use 2 cups chocolate milk to replace the cold tea. Orange Tea Cake: Use 2 cups orange juice to replace the cold tea. Spicy Tea Cake: Add 1 teaspoon mixed spice with the flour. Sultana Cake: Add 1 teaspoon lemon essence with the cold tea. Use 2 cups sultanas to replace the mixed fruit. When kids are first introduced to Valentine’s Day it is by their parents. They are told that it is a day to show those we love how we feel about them.
These days Valentine’s Day is a day for treats as well as expressions of love. So skip the commercial hype and show your love and affection by spending time with the kids (or grandkids) and make some special sweet treats with them. Here are two ideas for making biscuits and cupcakes that ooze with love and fresh baked goodness. Heart shaped cookie cutters will turn regular biscuits into creations of love. Kids don’t only like hearts. Let them experiment with other shapes in the cookie cutter arsenal if they want to. They can even design shapes of their own with the dough pieces that are too small to cut. Cupcakes are much the same way. Make little heart shaped cupcakes by putting a marble or large bead between the filled patty pan and the cake tin. The marble pushes the cake mixture in, making a little indentation that forms the heart shape. Decorate with white icing and red jelly crystals or pink icing and sprinkles. Biscuits and cupcakes can get a nice makeover for Valentine’s Day to help reflect the good feelings of the holiday as well as create great family togetherness. Basic Butter Biscuits Ingredients: 250g butter, softened 1 cup icing sugar mixture 2-1/2 cups plain flour Method: Beat butter and icing sugar with an electric mixer until light and fluffy. Transfer to large bowl. Stir in the flour, in two batches. Knead dough on lightly floured surface until smooth. Divide dough in half and roll each half into a 25cm log. Wrap in clingwrap and refrigerate for 1 hour or until firm. Preheat oven to 180 degrees Celsius. Roll dough out to 1cm thick. Cut into shapes with floured cookie cutters. Place biscuits on greased oven trays 2cm apart. Bake, uncovered, about 10 minutess or until browned lightly. Turn cookies onto wire rack to cool. The Worlds Easiest Cup cakes Ingredients: 1 cup cream and 1 cup of sugar 1-1/2 cups SR flour 2 eggs Method: Combine cream and sugar. Beat into flour. Light beat eggs and stir into mixture. Spoon into patty pans and bake at 180 degrees Celsius for 15-20 minutes. Save money by limiting the expensive or extravagant items you buy. For example, if you love an exotic, organic cake mix but it’s expensive, buy one every other month. Consider it a special treat when you have it, rather than something you must have every week or two.
Or better still, MOO cake mixes, store them in ziplock bags and you can make a cake whenever you feel like it. MOO Vanilla Cake Mix Ingredients: 4 cups plain flour 4 cups SR flour 6 cups white sugar 1/4 cup baking powder 2 tsp salt 2-1/4 cups unsalted butter* Method: Combine all the dry ingredients and then cut in the shortening with a pastry knife until it is very fine. Place in a 4 litre airtight container. Store for up to 3 months in the fridge. Bring the cake mix to room temperature to use it. *Note: Use real butter, do not be tempted to use margarine. To make a cake: Ingredients: 4-1/2 cups cake mix 3 eggs 1 tsp vanilla extract 1/3 c vegetable oil 2/3 c milk Method: Pre-heat oven to 175 degrees Celsius. Grease and flour a 33cm x 23cm cake tin. In a large bowl mix eggs, vanilla and oil. Add the cake mix, stir to combine. Then stir in the milk. Bake for 30-35 minutes or until a toothpick comes out clean when inserted in the middle. I love the convenience of mixes ready to go. At the moment I have chocolate cupcakes, tea cake, sultana muffins, cranberry muffins, cream of chicken soup, taco seasoning, spaghetti seasoning, pizza dough, doughnuts, instant custard, white sauce mixes all in jars (I love them too) or ziplock bags. I print the ingredients and method either onto a label or straight onto the jar or bag with a Sharpie so anyone can take a mix and make it. Means Wayne or the children can help me with baking or meal prep without my supervision or even input. Annabel, over at The Bluebirds are Nesting (Blue Wren in the forum) is doing a series on pantry preparedness. She posts a new topic each week and this week it was mixes. I love mixes. They are a vital component of my pantry, my stockpile and go a long way towards helping to keep our grocery bill to $320 a month. I can't remember the last time I bought a cake mix. Hannah bought a couple last year and made them, red velvet cupcakes if I remember correctly. We HATED them - they tasted so fake, had a horrible after-taste and left a greasy, thick feeling in our mouths. And they were expensive. During MOO Month I shared my go-to chocolate cake mix recipe. 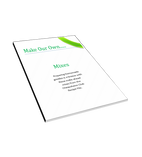 A few years ago I put together a small ebook of mixes, called Make Our Own….Mixes. It's one of the more popular downloads in the member's centre, having been downloaded almost 32,000 times since it was first published! That's a lot of people MOOing mixes, or with the knowledge to MOO them. Annabel was asking for a Bisquick recipe. Bisquick isn't a common ingredient in Australian recipes, but as the Internet makes it so easy for us to find and try recipes from other countries, and as it is a popular product in the USA and Canada, knowing how to MOO it means we can try these recipes, save money on the packets and keep the nasty ingredients out. This is my Bisquick recipe. I use it to make biscuits, scones (if we are camping, otherwise I make Lemonade Scones), crumble topping, shortcakes, pancakes, pastry, as the base in impossible pies and quiches - it's very versatile. MOO Bisquick Mix Ingredients: 6 cups plain flour, sifted 3 tablespoons baking powder 1 tablespoon salt 1/2 cup cold, unsalted butter Step 1. Measure the sifted flour, baking powder and salt into a large bowl. Use a wire whisk to blend thoroughly. Step 2. Cut in cold butter using a pastry cutter until thoroughly incorporated. Store refrigerated in an airtight container for up to 4 months. This makes 6 cups of mixture. I pack it in 2 cup portions in ziplock bags in the freezer because I don't have room in the fridge. I keep most of my mixes in the freezer. Why? Well firstly because I don't have the shelf space for them. Secondly, some of them contain butter or oil and need to at least be refrigerated. They can be used straight from the freezer, if there are any clumps just break them up before you add the wet ingredients. Here are two of the ways I use it. MOO Bisquick Scones
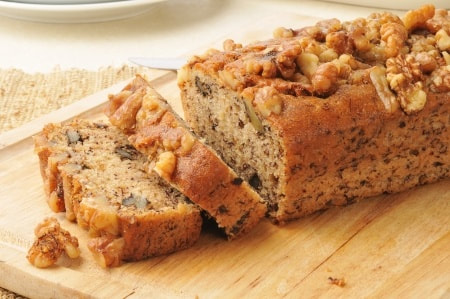
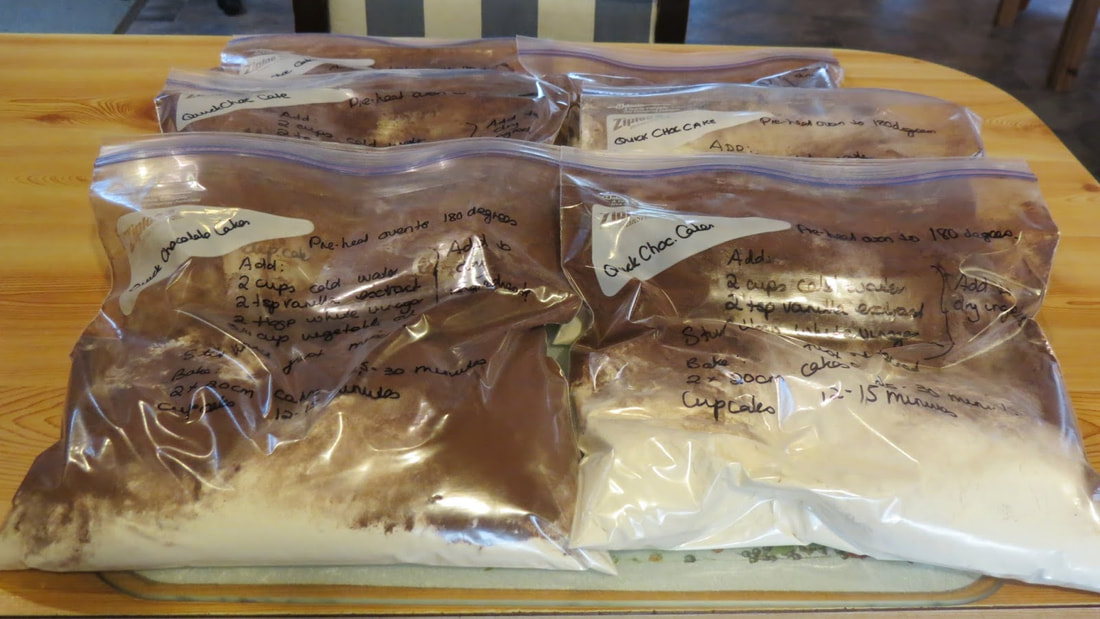
Ingredients: 2 cups MOO Bisquick mix 2/3 cup milk. Method: Mix to a dough. Gently press out to about 2cm thick. Use a glass or scone cutter dipped in flour to cut into rounds. Place on a baking paper lined scone tray. Bake at 210 degrees Celsius for 12 - 15 minutes or until risen and golden. MOO Bisquick Banana Nut Bread This delicious banana bread uses MOO Bisquick as a shortcut. With the addition of cream cheese and walnuts you have one of the easiest and nicest banana breads you've ever tasted. Ingredients: 2 cups MOO Bisquick mix 1 cup sugar 250g cream cheese, softened 3 medium bananas, mashed 2 eggs 1/2 cup chopped walnuts Method: Pre-heat oven to 175 degrees Celsius. Grease and line the base of a loaf pan. Beat sugar and cream cheese together until smooth (it's easier if you use the mixer for this step). Add in the mashed bananas and eggs, and beat until well combined. Gently stir in Bisquick and walnuts, until just moist. Spread evenly into the loaf pan and bake for one hour. Cool completely before serving. This is a very moist banana bread, it doesn't rise to a high loaf, and it's just great for using up brown or black bananas. It also makes a great Gift in a Jar - just pack the dry ingredients in layers in a jar, add a label with the ingredients needed and the method. Add a pretty jar topper and a ribbon and it's ready to go. Mixes are great. MOO mixes are even greater. If you haven't tried to save money, time and energy with MOO mixes, give them a go. I'm sure you'll love the convenience and the cost. Boxed (or packet) cake mixes are convenient - to a point. You still need to add the wet ingredients, usually egg, water or milk, butter or oil, so what you're paying up to $9 for is basically flour, sugar, a rising agent, flavouring of some kind and then a whole lot of things you can't pronounce and really shouldn't be eating. That cake mix convenience ends up costing you up to $11! If you make a cake from scratch you'll use flour, sugar, butter or oil, milk or water, an egg or two, flavouring of some kind and if you didn't use self-raising flour, a rising agent (baking powder or bicarb soda, depending on the recipe). And your cake will cost you under $2! Now cake mixes are supposed to be convenient time savers because you just dump the contents into the mixer, add the wet stuff and beat for 3 minutes. If your recipe is a one-bowl mix, like the I've shared below, you do the same thing - dump all the ingredients into the mixer and beat for 3 minutes. It may take you a minute to measure out the flour, sugar and flavourings so a from scratch cake will take you 1 or 2 minutes longer to get to the baking stage. At a saving of up to $9 a minute or two is nothing. And they will both take about the same time to cook too, so no saving there. If you really love cake mixes, and I confess I do, you can quite easily make your own. When I'm baking a cake I get out a half a dozen ziplock bags and measure out the dry ingredients for 7 cakes, the one I'm baking and 6 to put in the cupboard. The bags are labelled with the type of cake the ingredients will make - chocolate, coffee, butter, sultana, cherry or whatever, a list of wet ingredients and the instructions. I do this a lot so I have marked the bags with a Sharpie. Once the mix has been used the bag is washed and dried and put away ready to use again - and the instructions are already written on it. This is a quick chocolate cake I make into MOO Cake Mixes.
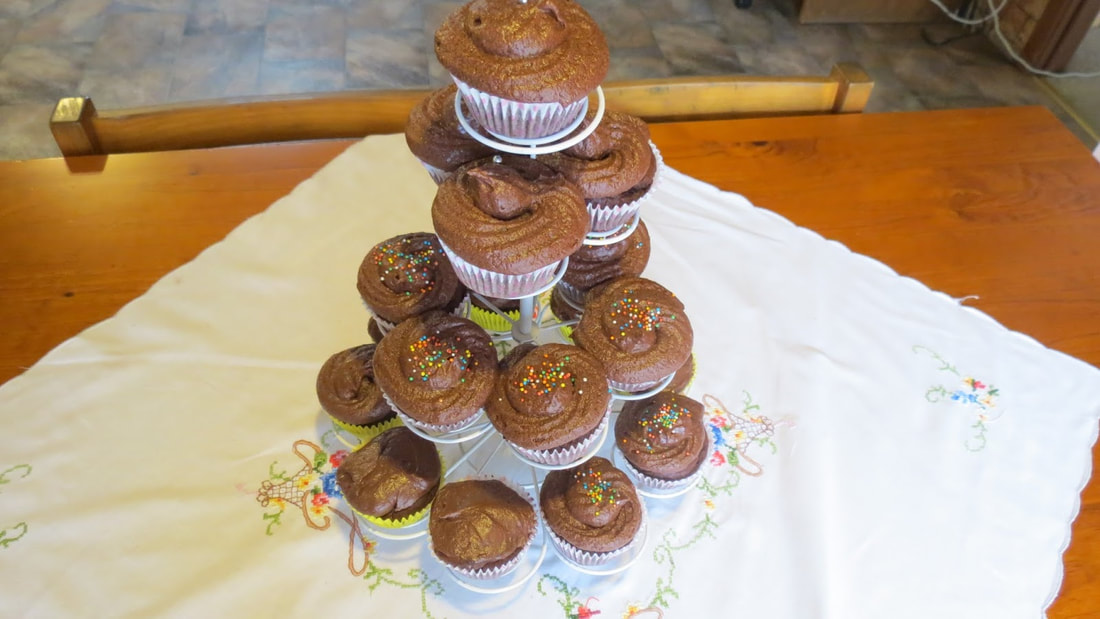
Quick Chocolate Cake Dry Ingredients: 3 cups SR flour 2 cups sugar 1/4 cup cocoa Wet Ingredients: 2 cups cold water 2 tsp vanilla extract 2 tbsp white vinegar 3/4 cup vegetable oil You can double, triple, quadruple the quantities (I measure out 7 lots at a time). Put the dry ingredients into ziplock bags and seal. Label the bag and add a list of the wet ingredients and the instructions. To make a cake add the wet ingredients to the dry ingredients. Stir until just combined. One quantity will make 2 dozen cupcakes or two 20cm square cakes. Bake at 180 degrees Celsius for 25 - 30 minutes for 20cm cake (or until a skewer inserted in the middle comes out clean). Bake for 12 - 15 minutes for cupcakes or until a skewer inserted in the middle comes out clean. Afternoon tea or lunchboxes, this cake is great!
I've been making this cake since I was 13 and it's still one of my favourites. It is a quick and easy one bowl loaf cake that smells wonderful while it's cooking and tastes even better. The combination of nuts, dried fruit (and you can use any combination you like, not just commercial mixed fruit) and aromatic spices makes it taste even better than it smells. Brownie cake is a moist loaf, and lasts well if wrapped in plastic wrap and stored in the fridge. Brownie Cake Ingredients: 2 heaped cups SR flour 1tsp mixed spice ½ tsp cinnamon 2 tbsp butter 1 cup sugar 1 cup milk 1 cup mixed fruit and nuts Method: Pre-heat oven to 180 degrees Celsius. Grease and line a loaf tin. Sift together flour, spice and cinnamon. Rub in butter and add sugar. Mix with milk. Add fruit and nuts. Pour into greased loaf tin and bake 1 hour or until a knife inserted in the centre comes out clean. From the Cheapskates Club Cakes and Muffins Recipe File  Oranges are cheap at the moment, and the quality is excellent. Don't forget to check the label to make sure you are buying Australian oranges to ensure they are top quality and of course to support Australian farmers. This cake uses a whole orange and just four other basic pantry items, making it quick and easy. Whole Orange Cake Ingredients: 1 whole orange 1 1/2 cups sugar 3 eggs 1 1/4 cups oil 2 cups SR flour Method: Pre-heat oven to 180 degrees Celsius. Place the whole orange, sugar, eggs and oil in a food processor and blend well. Add sifted flour. Whizz until flour is mixed into orange mixture. Bake in a greased and lined loaf tin for 45 minutes until cooked. Note: Olive oil gives a very moist cake but can leave a “taste”. I like to use half vegetable oil, half olive oil. The result is a lovely moist cake without the taste of the olive oil. This is the original recipe as given to me. I have tweaked it somewhat to suit our eating habits, and the result is a delicious, moist cake, that is more nutritious. After all eating a healthy diet doesn't have to mean eating a dull diet. The recipe I now make swaps wholemeal spelt flour for the self-raising flour and unsweetened apple sauce for the oil. I also cut the amount of sugar in the recipe and replace one of the eggs with flax seed and water (a great egg substitute). The result is a very moist cake, almost a mud cake texture. I also bake it in cupcake papers just to make it go further. I get 24 large cupcakes from the recipe and they take approximately 18 minutes to cook, depending on your oven. I'd start checking them after 15 minutes. The cakes are done when a skewer inserted into the centre comes out clean. This is one of the moistest cakes around. Not quite as dense as a mud cake, but every bit as delicious, it costs approximately $2 to make. It's so moist and delicious you don't need icing, just dust the top with a little icing sugar to serve.
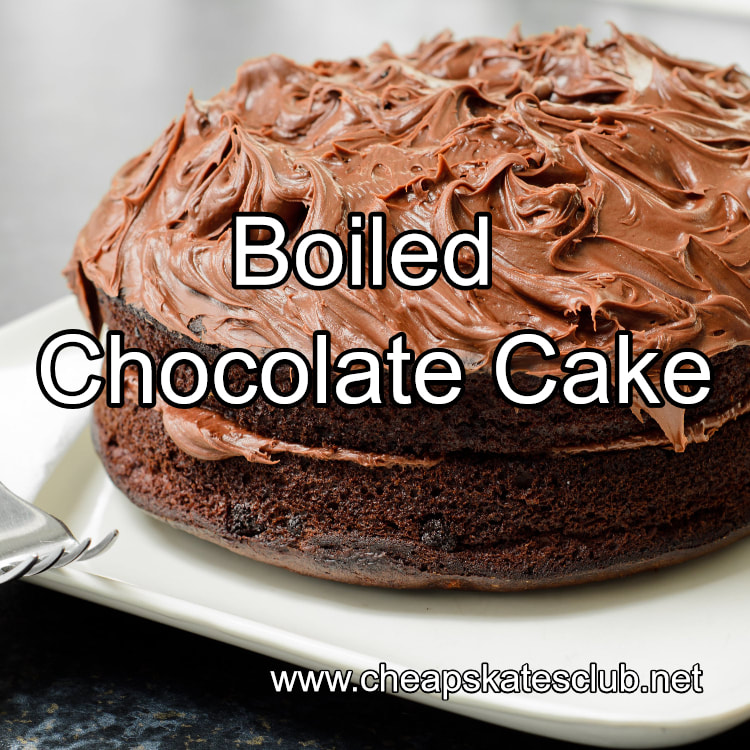
Ingredients: 1 cup water 2 tbsp cocoa 1 1/2 cups sugar 2 eggs 125g butter 1 1/2 cups SR flour 1/2 tsp bicarbonate soda Method: Pre heat oven to 180 degrees Celsius. Grease and line a 20cm round cake tin. Place sugar, water, butter, cocoa and bicarb soda in a saucepan and stir over a low heat until the butter melts. Bring to the boil and simmer 5 minutes. When the mixture is cool beat in the eggs and flour. Pour into prepared cake tin and bake for 1 hour. Allow to cool in tin 5 minutes before turning onto a cake rack to cool completely. |
Archives
April 2020
Categories
All
|




 RSS Feed