|
Take that old shower caddy and put it to good use as a hanging herb or succulent garden.
After our bathroom renovation I had a spare shower caddy, just taking up space and doing nothing useful. I thought about hanging it over the tap in the backyard to hold soap for handwashing then saw a picture of one being used as a hanging basket. You will need: 1 hanging shower caddy Potting mix Herb seedlings Coconut fibre Step 1. Line the basket/s of your shower caddy with coconut fibre. Make sure it is at least 2cm thick and covers the entire basket area. It has to hold potting mix and seedlings. Step 2. Fill the baskets with potting mix and water. Plant your seedlings. Step 3. Hang your basket against a wall, off a verandah railing or from the fence. You'll be growing your own fresh herbs and repurposing something that would otherwise have gone to landfill. Oh, you'll save money on a hanging basket or pot too.
0 Comments
 Monte Carlos are an old Australian favourite, Arnotts sure picked a winner when they added these delicious coconut and raspberry cream biscuits to their Assorted Creams range. We Aussies buy them and enjoy them, but why? You can MOO Monte Carolos, really you can. And they are so easy; yet another thing we love that we've been conned into thinking we can only buy. So get out your mixing bowls and biscuit sheets, flour and butter and MOO them. And say "no" to buying these delicious biscuits because you can MOO them. This recipe was submitted by Bridie West, and it's become a favourite in our house. When you serve homemade monte carlos to visitors with their cup of tea they are suitable impressed - another thing we've been brainwashed into believing we have to buy. Cross them off your shopping list, get out the ingredients and have a go at making your own. I guarantee you won't ever want to buy them again (sorry Arnotts, but MOOing is better). The recipe makes about 25 biscuits and doubles really well also. Monte Carlos
Ingredients: 185g butter 1/2 cup brown sugar 1 egg 1 teaspoon vanilla 1-1/4 cup self-raising flour 3/4 cup plain flour ½ cup coconut Filling: 60g butter ¾ cup icing sugar ½ teaspoon vanilla 2 teaspoons milk raspberry jam Method: Pre-heat oven to 180 degrees Celsius. Line biscuit trays with baking paper. Cream butter and sugar until light and fluffy, add egg and vanilla, beat well. Add sifted dry ingredients and coconut, mix well. Roll teaspoonsful of mixture into balls. Put on lightly greased oven trays, gently press down with a fork. Bake 10 to 15 minutes or until golden brown. Remove from oven, cool on wire rack. While the biscuits are cooling prepare the filling. Combine the butter, icing sugar, vanilla and milk, mixing together until smooth. To assemble, put a teaspoon of jam and a teaspoon of prepared mock cream in centre of half the biscuits. Top with remaining halves, press together lightly. From 31 Days of MOO 2015 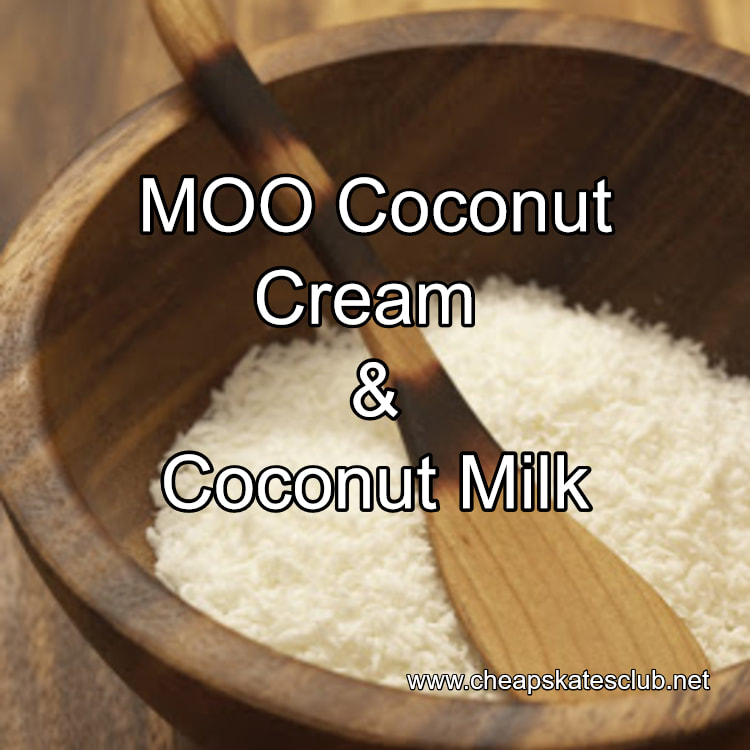 I just popped into the Cheapskates forum and the chatter is about mooing coconut milk or cream (technically the same thing, just a different name in different areas).
Now you can MOO it very easily, probably even easier than buying it when you consider you need to go to the supermarket, find it on the shelves, stand in the queue, pay for it and then get it home. A 400ml tin of Coles Savings brand coconut cream costs 97 cents. A 500g packet of desiccated coconut from Coles costs $2.92 and is enough to make 4 cups, or 1 litre, of coconut milk. The difference in price is around 26 cents more expensive to buy the tin. There are two ways to make coconut cream; option one takes about 2 hours, option two takes just a few minutes. Again the choice is yours - the end result is the same. Option 1: Soaking Method You will need: 250g coconut 2 cups water A blender Cheesecloth or Chux or muslin for draining Step 1. Soak coconut in cold water for 2 hours. Step 2. Put the coconut and water into the blender and blend on high until the mixture is very smooth. Step 3. Once blended, pour the mixture into the cheesecloth, gathering up the sides and twisting to close. Step 4. Twist the cheesecloth tight, squeezing as much moisture as possible out of the pulp. Keep twisting and squeezing until you can't get any more moisture from the pulp. Pour into a clean jug or jar and chill. Option 2: Not Quite Instant Boiling Water Method You will need: 250g coconut 2 cups water A blender Cheesecloth or Chux or muslin for draining Step 1. Bring 2 cups water to a boil and pour over coconut. Let cool for 10 minutes. Step 2. Put the mixture into the blender and blend until very smooth. This takes about 5 minutes so be patient. Step 3. Once blended, pour the mixture into the cheesecloth, gathering up the sides and twisting to close. Step 4. Twist the cheesecloth tight, squeezing as much moisture as possible out of the pulp. Keep twisting and squeezing until you can't get any more moisture from the pulp. Pour into a clean jug or jar and chill. Now you have your coconut milk/cream to use in smoothies or sauces or curries or cupcakes or pancakes or whatever you are making, but what do you do with the leftover coconut pulp? You use it of course! You can use it as is, adding it to muffins or cakes or breads or desserts. Or add it to yoghurt or fruit salad. Or you can dry it and use it in baking as desiccated coconut. Or you can dry it, grind it and use it as coconut flour. If you're on a GF diet, you'll know just how expensive coconut flour can be. Now I'm going to tell you just how easy it is to MOO it, you won't ever want to buy it again. To Make Desiccated Coconut or Coconut Flour You will need: The pulp from making the coconut milk A baking sheet Baking paper Food processor or blender Step 1. Pre-heat oven to 80 degrees Celsius (or as low as it will go if it doesn't go down this low). Step 2. Line a baking sheet with baking paper. Do not be tempted to grease the tray or use cooking spray - it will ruin the end result. Step 3. Spread the coconut pulp in a very thin layer over the baking sheet. Step 4. Bake for 45 minutes or until the coconut is completely dry. Step 5. Let cool a few minutes. If you want it as desiccated coconut, let it cool completely and put into a canister. To make coconut flour add the dry coconut to a food processor or blender and process in short bursts until it is ground to a very fine texture. That's it. Easy. A little cheaper than buying coconut cream, a lot cheaper than buying coconut flour. From Debt Free, Cashed Up and Laughing  Cheapskater Elizabeth wrote "Keep your home scented and fresh all year round with a beautiful homemade air freshener.
You will need: 6 Drops Eucalyptus Oil 10 Drops Rose Oil 10 Drops Lavender Oil A small dish or bowl, about 1 cup capacity Half fill the dish with boiling water. Add the oils and stir. The heat from the water will warm the oils and your home will smell absolutely wonderful."  Over the weekend I thought I'd give everyone a treat and buy us all and ice cream. My ice cream of choice was a Drumstick, after all it's an Aussie icon, and this was a treat. Until I saw the price! $3.40 each - so $17.00 for the five of us to enjoy an ice cream. That put paid to that treat, $17 on ice creams is just too much for our entertainment budget. I was explaining this to Hannah as we drove home via Hungry Jacks for a 50c ice cream - a much more budget friendly treat.
Last night Hannah announced that she was making dessert for us all. Now we very rarely have dessert and when we do it's usually fruit based - an apple sponge or strudel or fruit salad or a pie of some kind so everyone was very excited, waiting to see what she would make. She made us drumsticks! And much bigger and nicer drumsticks than the Streets ones I didn't buy (sorry Streets, you just don't make the grade anymore). They were delicious, better than a bought ice cream and a fraction of the price. If you like an ice cream treat every now and then, try these MOO drumsticks, they really are good. MOO Drumsticks Ingredients: 4 waffle cones 4 large scoops vanilla ice cream 1/2 cup milk chocolate buttons 1/4 cup crushed nuts Method: Melt the chocolate. Take a teaspoon of the melted chocolate and pour into the tip of each waffle cone. Swirl around to coat the inside of the cone. Put a scoop (or two) of ice cream into each cone. Drizzle the ice cream with melted chocolate, sprinkle with chopped nuts. Put them into the freezer for a few minutes to set. Makes 4 ice creams. Enjoy! The costings are: 1 packet waffle cones - $4.06 [packet of 12, $0.34 each 2 litres vanilla ice cream - $2.19, $0.20 per ice cream Chocolate buttons - $2.88 a 375g packet, $0.10 per ice cream Crushed nuts - $1.22 a 200g packet - $0.05 per ice cream The waffle cones, choc buttons and nuts came from Coles, the ice cream is from Aldi. These homemade drumsticks are more than twice the size of the official version for less than a quarter of the price. I think they're nicer too, the cones were delightfully crispy, not soft and soggy. Why wouldn't you MOO them? |
Archives
April 2020
Categories
All
|
 RSS Feed