|
One of the jobs I was able to cross off the to-do list last week was defrost and re-organize the freezer, and I was very glad to get it done. Keeping a freezer organized, especially a chest freezer, can be quite a feat, especially when it is almost always packed tight. To help keep my freezer neat and tidy, and to stop food getting lost and ruined, I use "green" bags and cute little labels I made using the computer. The bags are different colours according to their contents:
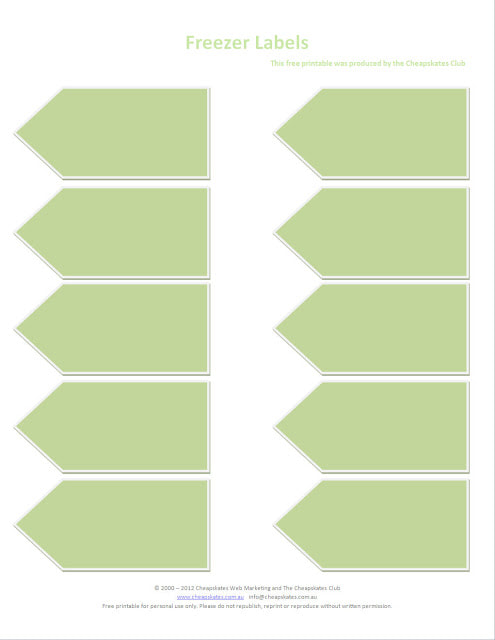
On the handle of each bag I've tied a label. They are tied on so they can easily be moved to another bag in the future. You could staple or stitch them on if you want something more permanent. I printed the labels off onto an A4 sheet, cut around the shape and laminated them in business card sized laminating pouches (because I already had them). You can cut them out and then space them onto an A4 laminating pouch, run them through the laminator and then cut them out (or go to the expense of buying business card sized pouches, but why would you?). Once they have been laminated punch a hole in the pointy end, slip through the twine or ribbon and they are ready to use. Use this free template to make your own freezer labels (look under the Tools and Guides section). 1. Download and open it in Word.
2. To add an item to a label click in the centre and type into the text box. 3. To change the background colour of the labels click on the label and then choose a new fill colour. 4. Print, cut out and laminate. Punch a hole through the point of each label to attach to freezer items.
0 Comments
Your comment will be posted after it is approved.
Leave a Reply. |
Archives
April 2020
Categories
All
|

 RSS Feed